Abstract Impressionism – Part one: Motion
Inspired by a recent article on Digital Photography School I would also like to present some ideas for shooting beautiful impressionist images. Often in photography we strive to create realistic images, which are super-sharp and capturing what the eye actually sees. Of course, what the eye sees can vary – in her article Anne McKinnel talks of ‘the impression a scene leaves in your mind when you glance at it quickly and then look away before giving your eyes a chance to focus’, but of course the eye plays other tricks than this. Think of a fast moving train, and the streaking lines – I have read that a shutter speed of 1/60s most closely captures what the eye sees (though this is very different from the ‘shutter speed’ of the eye). But think of other tricks the eye can play – squinting so that images become blurred, the loss of perception at the peripheral vision and so on, or how things look when you are drunk. Learning to use some of these tricks can create beautiful abstract images that play with the mind.
Moving Subjects
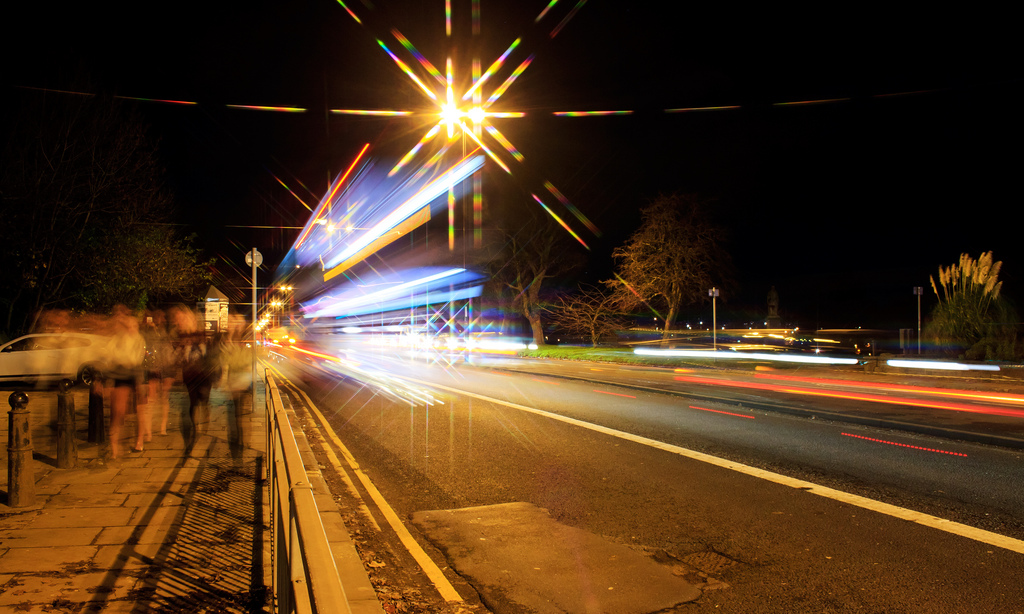
The classic long exposure technique is to place your camera steady on a tripod, or some other convenient surface and shoot a long exposure image. This is often used for traffic trails as in this image of the A660 as it leaves Leeds. This was taken during the rush hour traffic with an exposure of 2 seconds. I balanced the camera on the barrier rail. As you can see, the traffic has been rendered all but invisible with just its lights evident as light trails, and the people walking along the street are ghostlike and transparent, but the steady surface leaves the rest of the scene sharp.
But this is not as abstract as it perhaps could be. Ok, lets lose the tripod (or railing)…
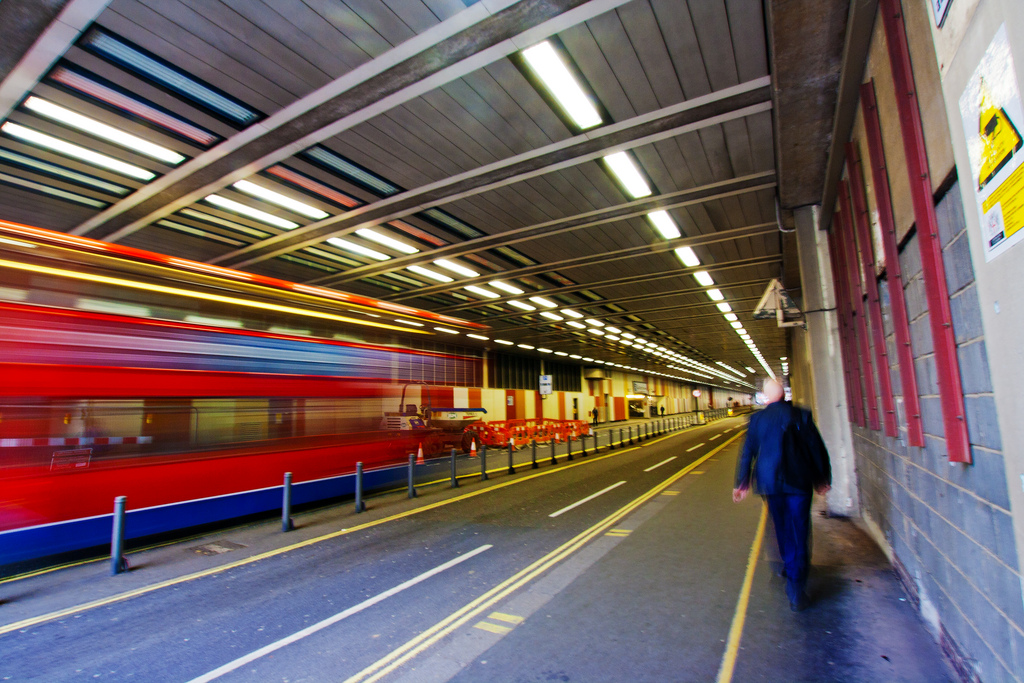
This shot is the tunnel where the B100 Beech Street runs underneath the Podium of the Barbican in London. I didn’t have a tripod with me, and would have had no desire to set one up if I did, so I needed to shoot hand-held. The exposure was 1/2 a second – too long in general for a hand held shot, but in this image it works as the eye is drawn in by the speeding bus and the slight shake gives almost a soft focus effect to the image and shows my movement as well.
You can take this to extremes.
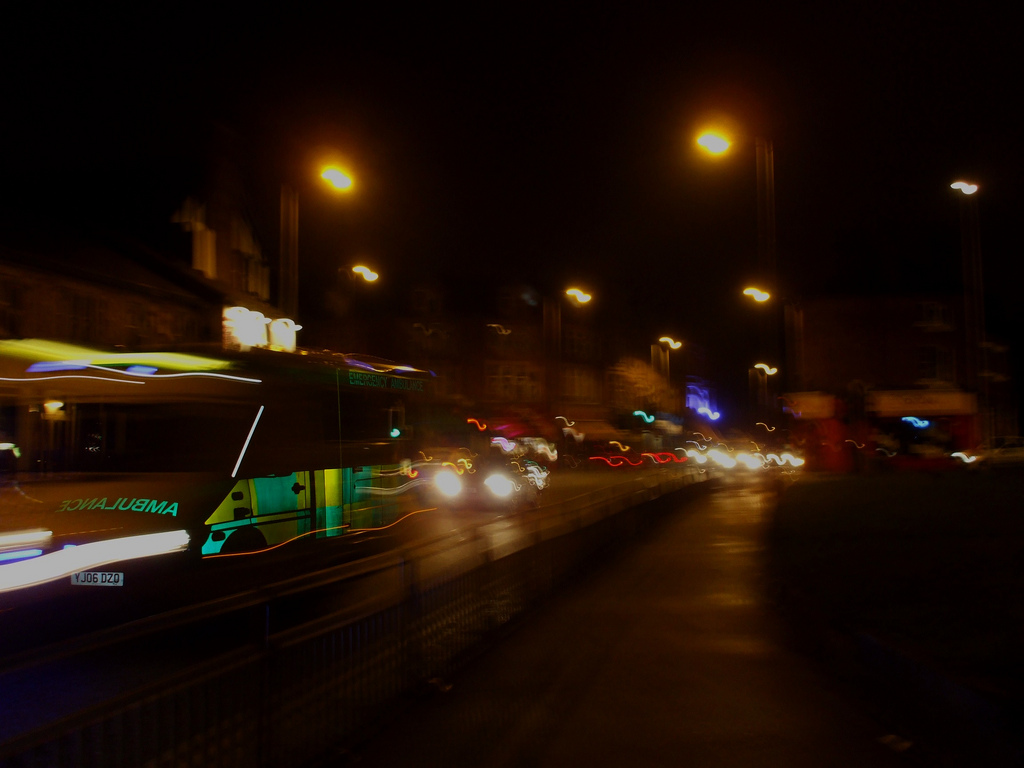
I took this image of Hyde Park Corner in Leeds, with my little digital compact one night. The mixture of traffic trails and the shake from the 1/5 second exposure captures how this busy corner often looks when the viewer is a little inebriated – common in Hyde Park.
I have recently used this image in my MA dissertation research to show how artistic camera techniques can in fact capture the aura of a place in a manner which is very useful because though arguably it does not capture ‘reality’ the feelings it provokes can elicit responses from viewers which speak to them more about the place than a in focus sharp image – because this is simply not how it looks.
Still not abstract enough though? Lets zoom in…
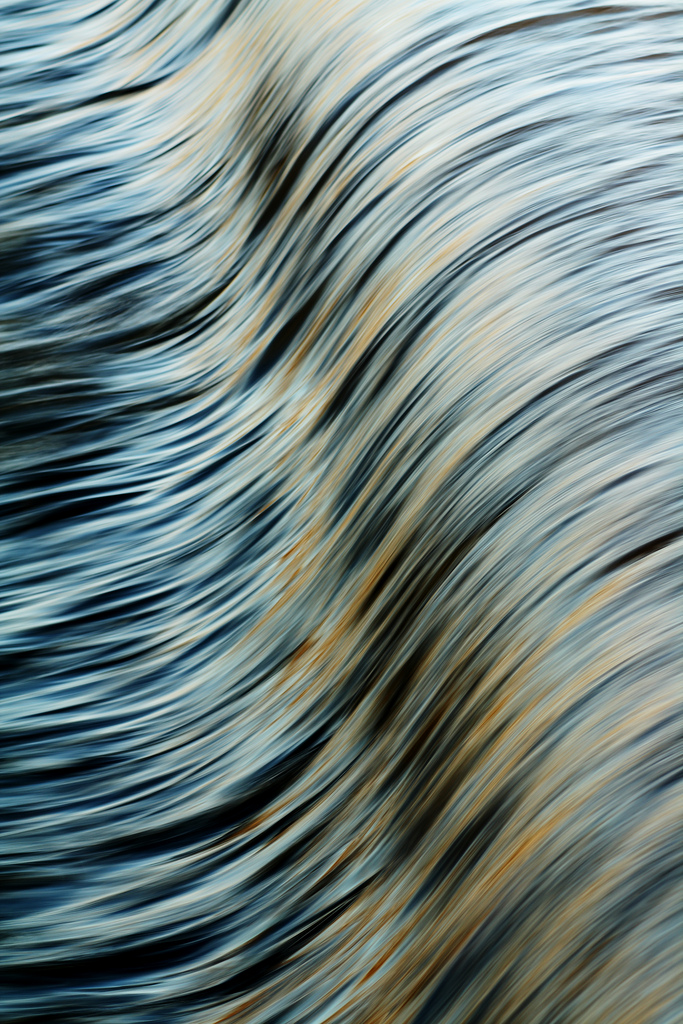
I took this image of the River Wharf in its December spate a couple of years ago. I had been trying to take shots if the flurry of waterfowl, but not really getting much exciting, so I turned my eye to the landscape instead.
The camera was balanced on the railing at a focal length of 92mm to zoom right in on the weir, but what is quite amazing about this shot is that the shutter speed is only 1/20s, which shows how fast the water was moving. This has given an amazing silky texture to the water, but not rendered it as a total white blur as in some long exposures.
This image was Editors Choice on the Photo Answers website and featured in Practical Photography Magazine.
Moving Camera
Of course, it does not need to be just the subject that is moving. As I said in the introduction, think of what you see when you look out of a moving train.
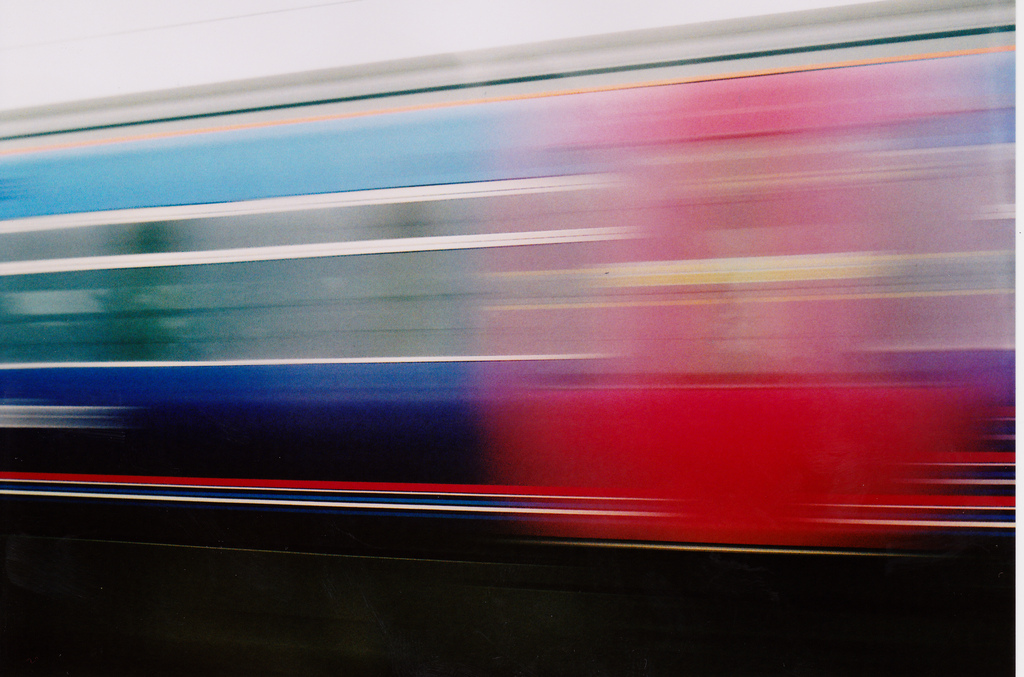
This image was taken using a little Beirette V and shot to Fujicolor C200. I don’t have the full exposure settings written down, but I believe the shutter speed was 1/30s. This has been enough to capture the passing train as a streak of colours, but it is still clearly obvious what it is, and closely captures what it actually looks like when a train goes past at speed.
I have another tutorial on creating a similar motion image here.
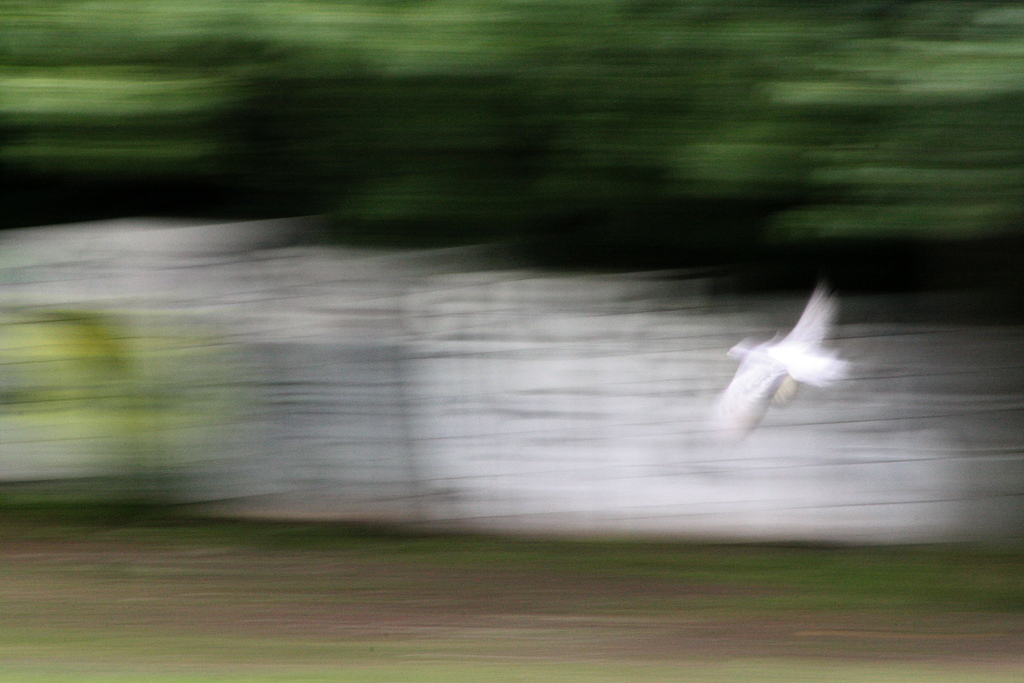
Panning is a much used technique when shooting moving objects, where the camera tracks the subject to keep it sharp, and allows the background to blur. But you can also get some good effects by allowing the subject to blur too, making a more abstract shot.
This image came about by accident, as you can probably guess from the very odd settings! It was about 2 days after I got my DSLR, but with some editing has made an interesting abstract.
Happy accidents often produce some very nice shots.
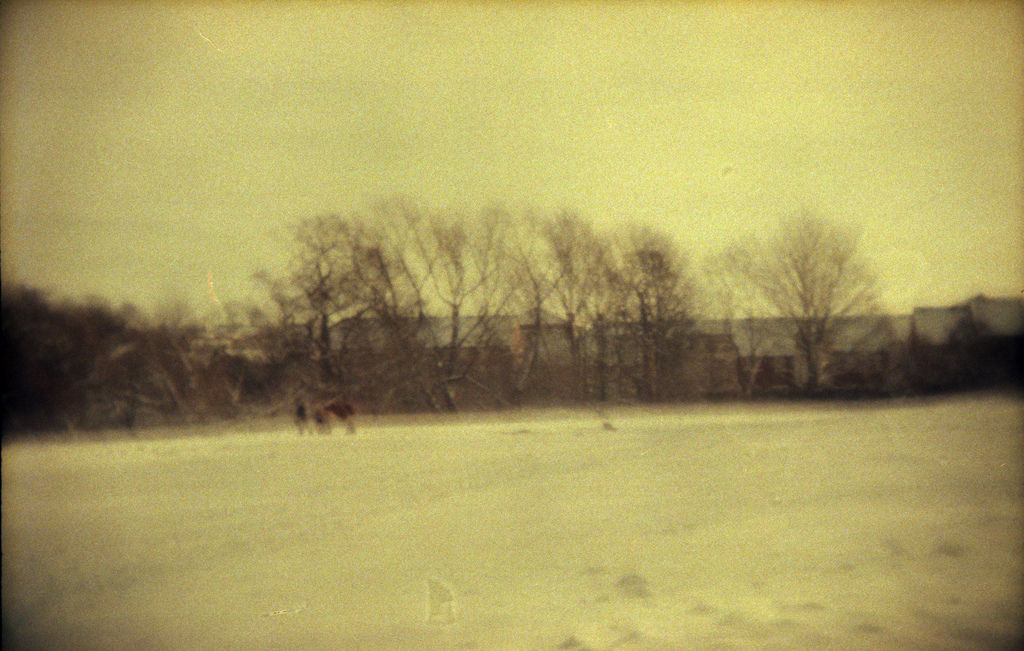
This image was taken using my Holga 135BC, shot to Konica Centuria 200. I had accidentally left the camera on bulb, so this is an exposure of probably about 1/4 second or so. It was very over exposed which is why it is orange – the very faint image left shows through a lot of the orange base of the film. But the blurry soft effect is reminiscent of a vintage Daguerreotype image.
Moving the zoom
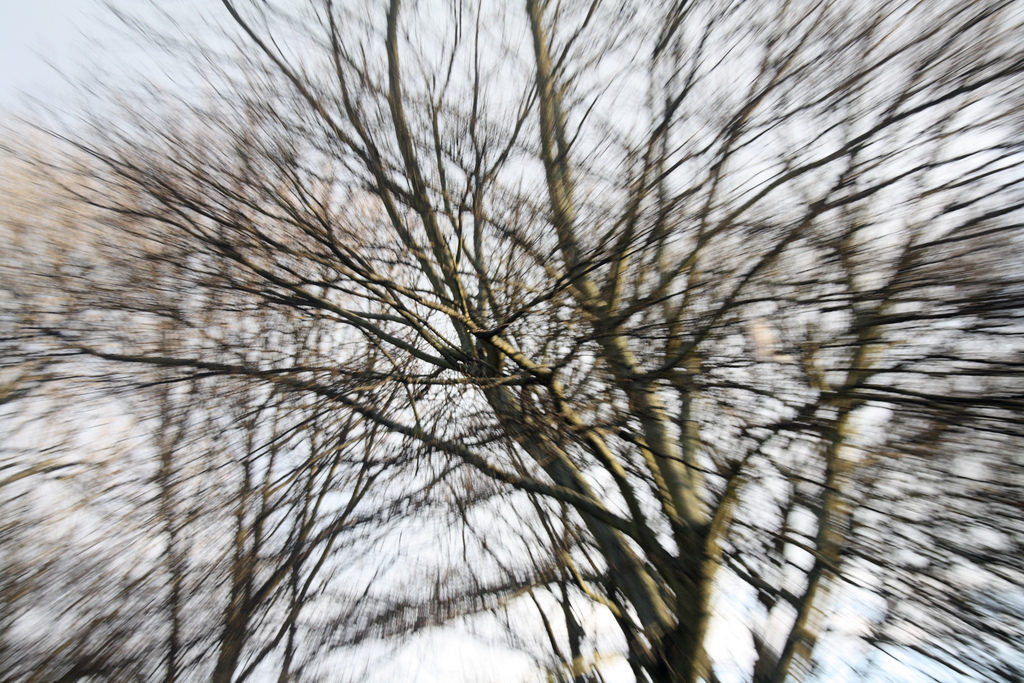
One final movement technique is the zoom burst.
To do this, you rotate the zoom barrel of the lens while taking a shot. This creates this streaking effect like a kind of tunnel vision.
Many of these techniques I also use in my event photography which I will write about soon.
I hope you have enjoyed these tips, and please do leave some links to your images in the comments. Look out for part 2 of this subject, where I will be discussing focus.