Infra-Red – Part one.
I have been waiting all year for these…
Last year, I bought a couple of rolls of Rollei IR400 from AG Photographic, having read a bit about the crazy effects of infra-red photography.
Shooting Infra-red
Sadly this does not let you see through people’s clothes as some rumours suggest. What these films are sensitive to is Near Infra Red light, with wavelengths between 700-900nm. They will function as a normal film, most have a fairly standard panchromatic sensitivity, but the fun comes when you use a filter to take some of these normal wavelengths out.
When shot with a very dark red filter,anything below red is filtered out, so the bulk of the exposure comes from these red wavelengths. Using a red filter with normal black and white film deepens increases the contrast, darkening blue skies and green foliage, and lightning tones where there is a red constituent.
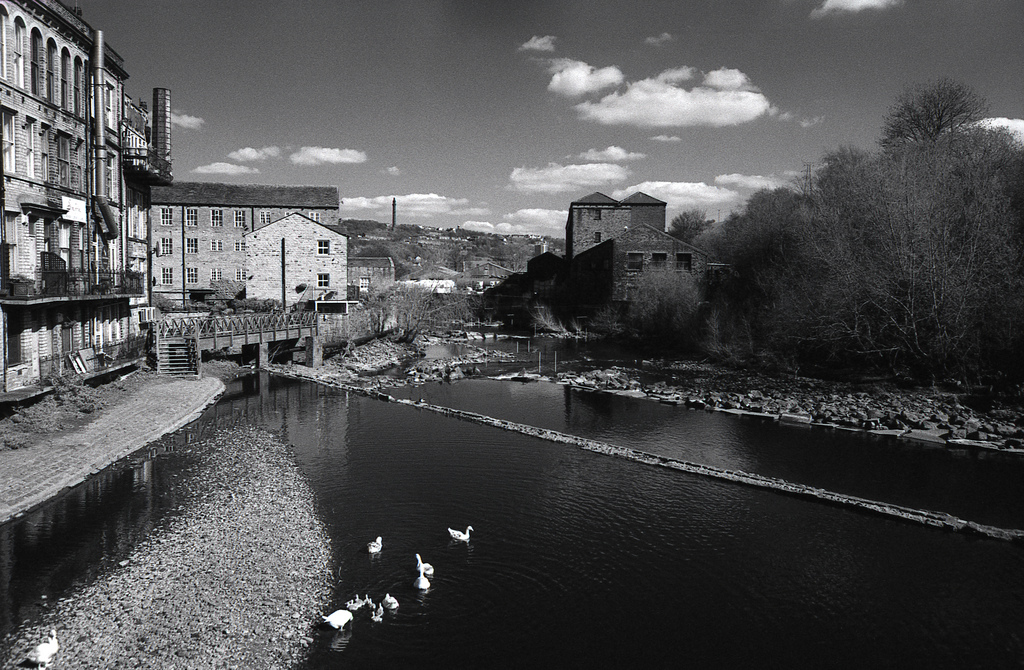
The Rollei Retro 400S used in this image has an extended red sensitivity, so the red filter has accentuated this in this image. Note how this has darkened the sky and the water, whereas the tan of the stone built mills remains light.
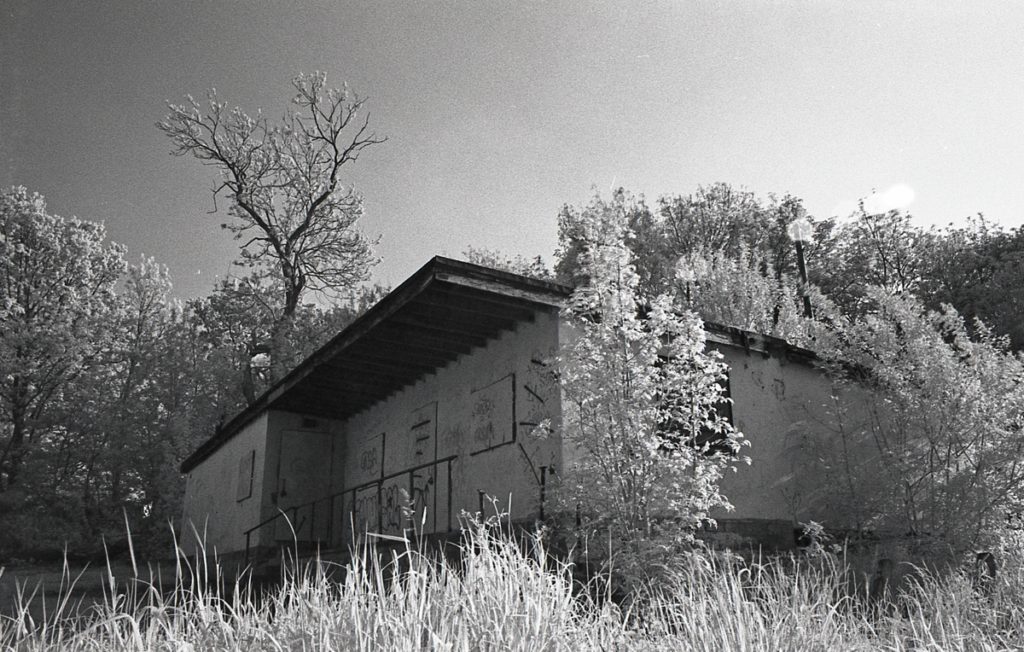
When you use a special infra-red filter even the visible red is blocked, resulting in the exposure coming largely from these NIR wavelengths. This means that subjects which reflect more of these wavelengths expose more and appear lighter on the image. Famously foliage becomes white, the so called ‘Woods effect’.
Rollei IR 400
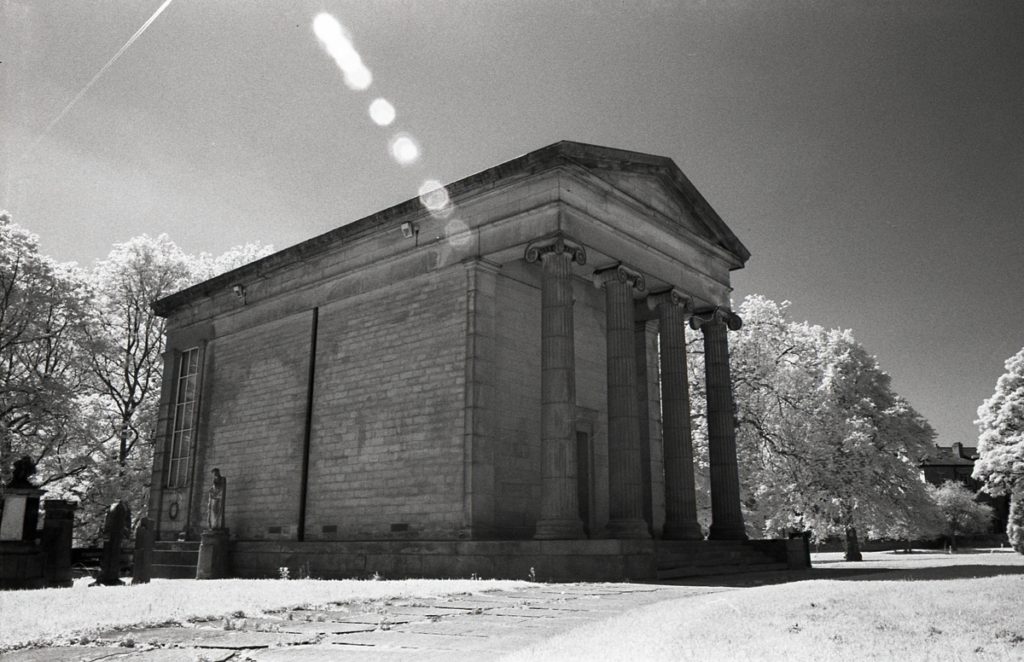
My first attempts with the IR 400 produced a nearly blank roll, I think because the filter I was using was actually too strong, as it was filtering at 760nm. The film has a sensitivity up to 820nm, though this drops swiftly above about 700nm. So for my second try I used a better filter, which removes light with a wavelength below 720nm.
The datasheet suggests an EI (Exposure index, or effective ISO) of 25 with a 720nm filter, though much of what I have seen on forums suggests this is best lower – anywhere from 12 down to 1.5. Exposing more provokes the ‘aura’ effect, which is due to light tending to reflect back through the back of the film giving a halo around areas of change in contrast.
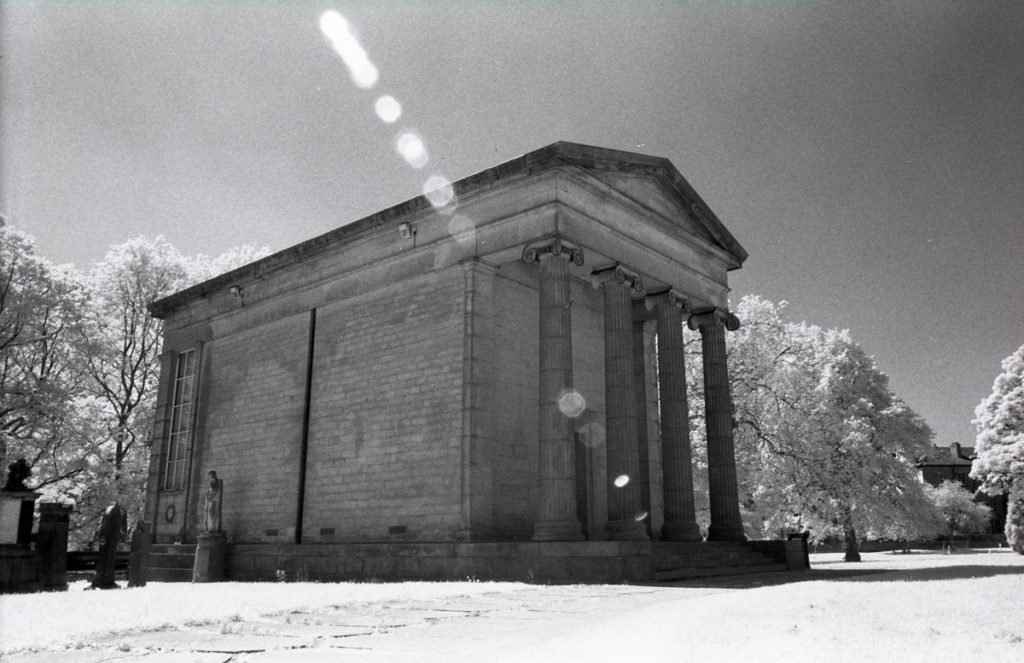
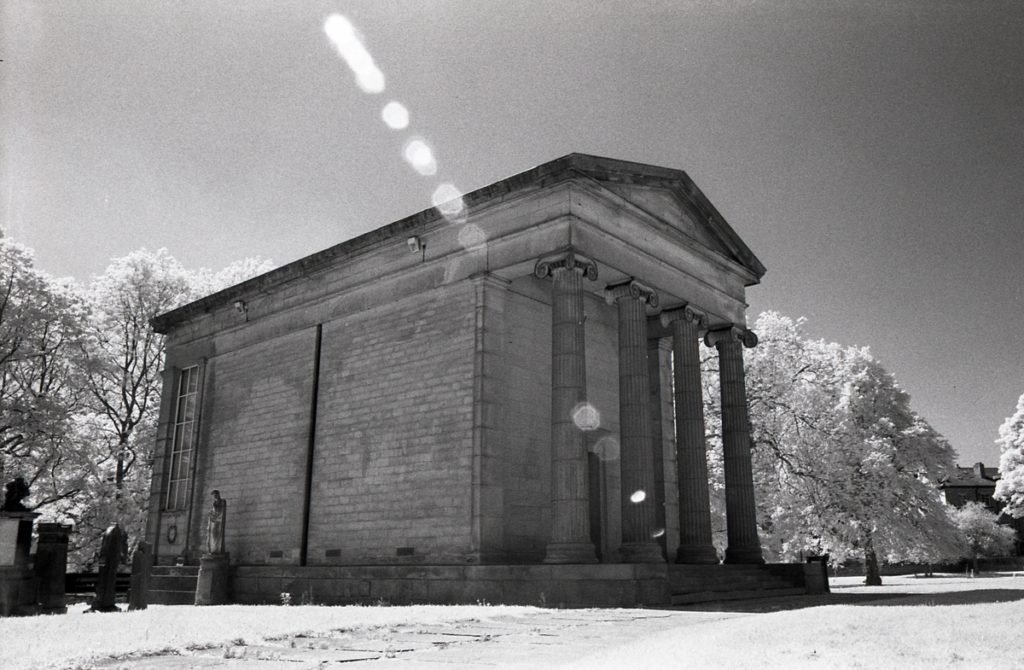
I bracketed 5 exposures for each shot that I made. I started at 25 and worked down, giving me 25, 12, 6, 3 and 1.5. All of these actually gave me usable negatives, and when I used the auto exposure on my Epson V500, the difference in the shots was actually very small.
All of these were shot with my Praktica TL-5B and the Vivitar 28mm f/2.5.
Infra red light focuses at a slightly different point to visible red light (in fact all colours focus slightly different which is what causes fringing on some high contrast images) and when shooting with infra-red film you need to account for this by adjusting the focus.
Many older lenses have an infra-red mark on the distance scale. You focus using the normal method (i.e the split screen, or fresnel lens) and then adjust the focus so that the IR mark lines up with the point that you have set. Using a smaller aperture also helps this as this increases depth of field – you would normally use a small aperture for landscape work anyway. These were shot at f/16. Obviously none of this can be done with the IR filter in place, so you need a tripod, anyway the exposures can be long so an tripod is pretty much essential.
The weather when I took these images was quite sunny, though a test metering I did on my DSLR gave me 1/125, f/8 at ISO 100. This gave me the following start points at f/16:
EI 25 – 1/8s
EI 12 – 1/4s
EI 6 – 1/2s
EI 3 – 1s
EI 1.5 – 2s
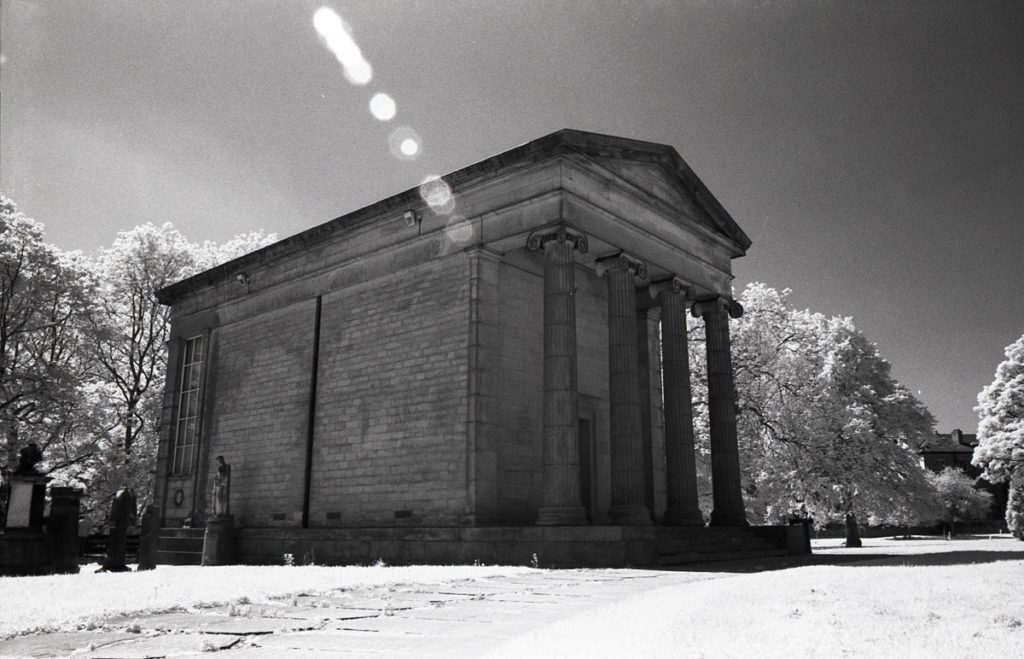
The shutter speed on my TL-5B only goes down to one second, so I had to count the slower exposures, thus their accuracy may not be perfect. This series of images was shot as per the table above, some images I shot that day were brighter and some darker, in one set I needed an exposure of 16s for the EI 1.5 bracket. Needless to say I used a cable release.
As you can see, there is a pretty good exposure lattitude on this film when using it for IR like this.
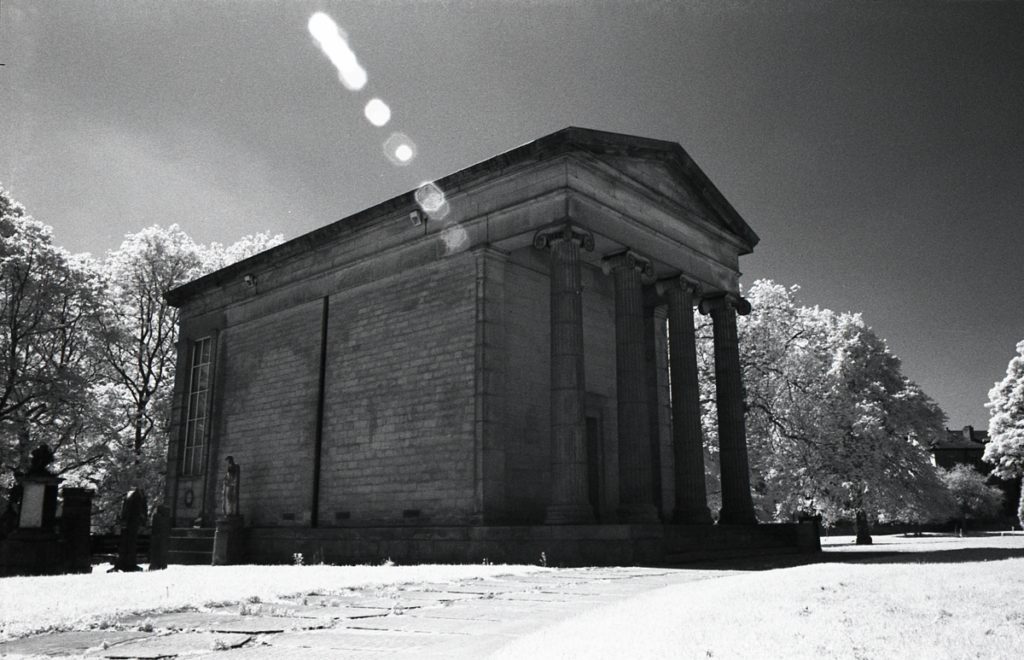
IR film develops like any standard black and white. You need to be careful as it is more sensitive to fogging that normal films, and it is said that some changing bags are not fully tight to IR – so I would suggest dimming the lights when you do it. These were developed in Kodak D76 for 9.5 minutes at 20°C, with my standard agitation of 10 inversions in the first minute and 4 per minute thereafter.
Even where you would not perhaps think there to be a lot of IR light, you can still get some nice results. I under exposed this shot a little, by miscalculating, but although this shot is pretty grainy, this image of the little waterfall in Meanwood shows that the film is quite forgiving.
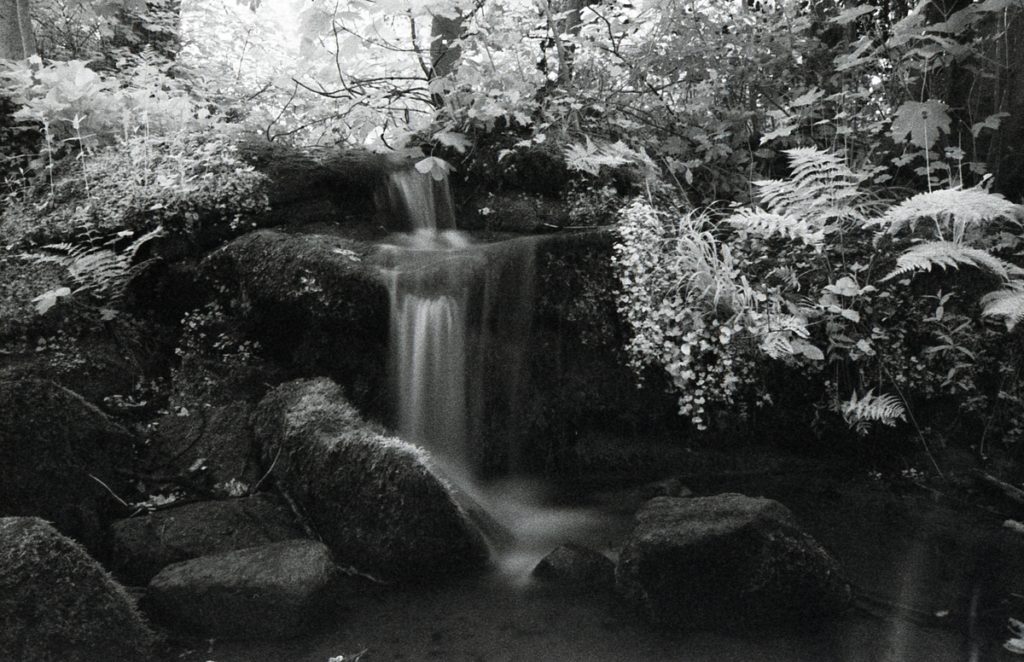
The reason for the ‘woods effect’ is that foliage strongly reflects Near Infra-Red, much in the same way that snow reflects visible wavelengths.
You can see all my sets with the Rollei IR film on Flickr.
Konica IR750
Infra red film can also be used with a plain red filter. A film that is especially good for this is the now sadly out of production Konica IR750. This is much slower, without a filter it has a nominal sensitivity of ISO 32. The datasheet suggests exposing for 1/60s at f/5.6 on a sunny day; using my Praktica TL-5B I know I can get a safe exposure at 1/30s due to the front mounted shutter release button, so I used 1/30s at f/8 as a starting point for my shots using this film.
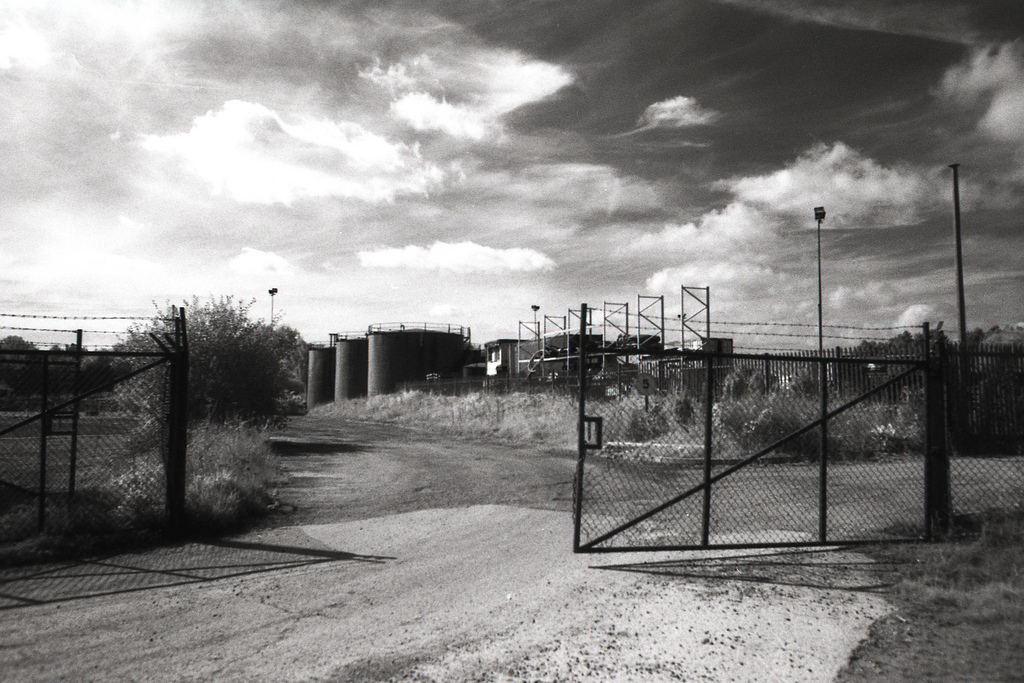
This film gives a far less pronounced Woods effect than the Rollei, using the red filter, but gives lovely dark and dramatic skies – this shot of the Fleet Lane Oil Depot near Woodlesford is a lovely example of this, it looks almost post-apocalyptic in its intensity. The Konica is also very smooth – even here which is 6 years expired. This was developed in Ilford Microphen Stock for 6 minutes – the Konica datasheet suggests this as a replacement for the Konicadol Super. This has given it a slight speed push, and controlled the contrast that can be an issue with IR films.
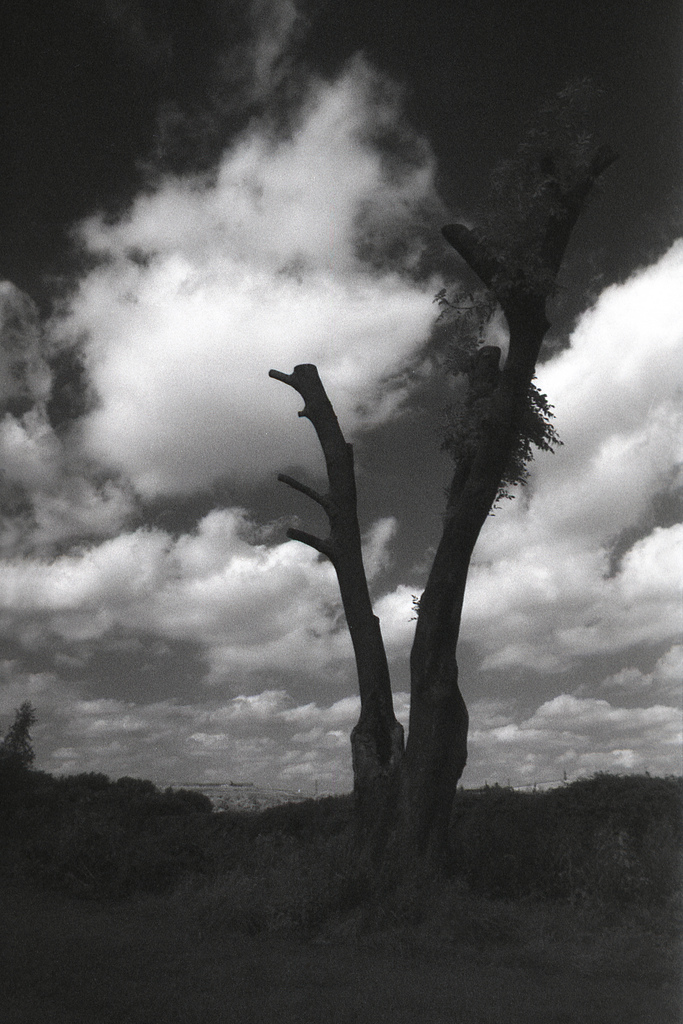
It also responds well to using a yellow filter – it has a natural dip in sensitivity to yellows and greens which can produce some good results, but you need to watch for under exposure. Looking at this image I would suggest using similar exposure to the Red Filter, at the least adding a stop to the metered value.
Out of these tow I have to say I like the Konica best – always sadly the way with out of production products. I will be seeking out some more of this.
You can see my images on Flickr using the IR 750.
What’s to come in part 2
For part two, I will be experimenting with the much sought after Kodak HIE High Speed Infra Red, the Holy Grail of IR films (I have seen this change hands for £100 a roll!) and the more current (though also now sadly discontinued) Efke IR 820c.
Though this might have to wait until next summer…