White Balance (It’s largely a matter of taste)
White balance refers to how your eyes identify colour in an image. What I aim to show in this tutorial is that sometimes, there is no ‘correct’ white balance, it is a matter of taste and creative vision.
I am going to try and avoid too much depth about the science of colour in this article, but I do need to explain some of the basics.
The basics
When viewing a real life scene the human visual system is very good at filtering out slight casts caused by the colouring of the light. So when we see a white wall illuminated by flourescent lights (which have a slight green tint) or tungsten incandescent light-bulbs (which are slightly orange) our brain tells us that is it white so we see it as white. Of course this is not a total effect, and is largely psychological – you see a candle-lit room and because out brain does interpret this as slightly warm because that is what our experience tells us the light looks like.
In some cases, this is obviously desirable – you wouldn’t drag yourself out of bed at some heathen hour to catch that morning glow and then balance it out so that your image looks the same as any other time of the day!
A photographic sensor does not have the subjective processing that our brains have, and so it will render the colours as it ‘sees’ them. Though of course it is not as simple as that because a sensor does not ‘see’ colour, but it is the best analogy I care to go into. A sensor ‘sees’ colour relative to how it has been told to expect the scene. What this means is that if you photograph a scene when the sensor is expecting the scene to be orange tinted from a warm sunny sky the camera will add some blue to compensate. If your scene is under heavy cloud (where the light will look blue anyway) this will make it look like you have been plunged into the freezing depths of Uranus.
White balance is normally denoted by a colour ‘temperature’ which is measured in Kelvin (the units of absolute temperature). For the scientifically light of a certain colour temperature will be radiated by a ‘blackbody’ (something which neither absorbs or reflects incident light) when heated to that temperature. Think of heating iron, it glows red, then yellow, then eventually ‘white hot’. Lower temperatures (such as 2000K) are redder, higher temperatures (such as 9000K) are bluer. Just to complicate it, there are more to colours than a continuum from red to blue – logically the other axis will be green and magenta. This is usually denoted in software by a simple scale of + or – 1-100, or a number such as 1.024.
Different software displays this differently. Adobe Camera Raw (which is the main Raw converter that use has two sliders. The first is the colour temperature which shows the colour of the light. The indicator bar below shows the effect of moving the slider, rather than the colour of the light. So as you move the slider to the right, this increases the colour temperature that you are assuming the light in the image to be making this more blue, so it adds yellow to compensate. Similarly with the green/magenta axis, moving it to the right assumes the light to be greener and adds magenta.
That is all the science – see, it was not too stressful, but will help you follow what I am going to discuss next.
Examples
Night time images are a good example to look at white balance, as there are often competing light sources, tungsten sodium-lights, or more modern and cooler LEDs, red and green traffic lights, white(ish) headlamps. And all this under a blue sky – even though the sky looks black, it is still blue – take a long exposure at night away from light pollution and you will see.
How the camera interprets it
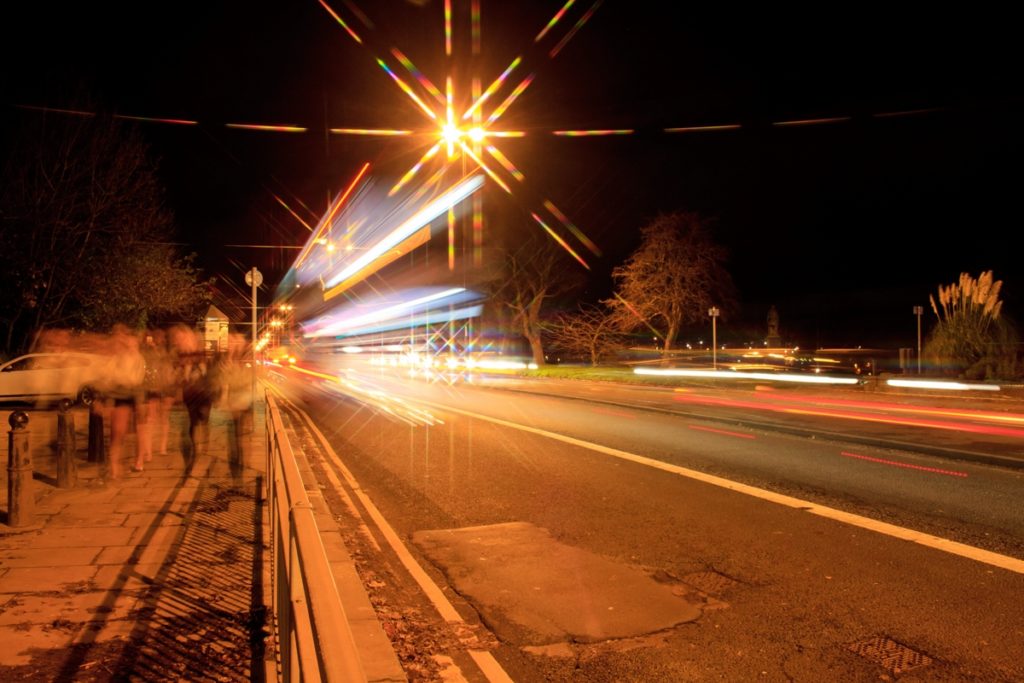
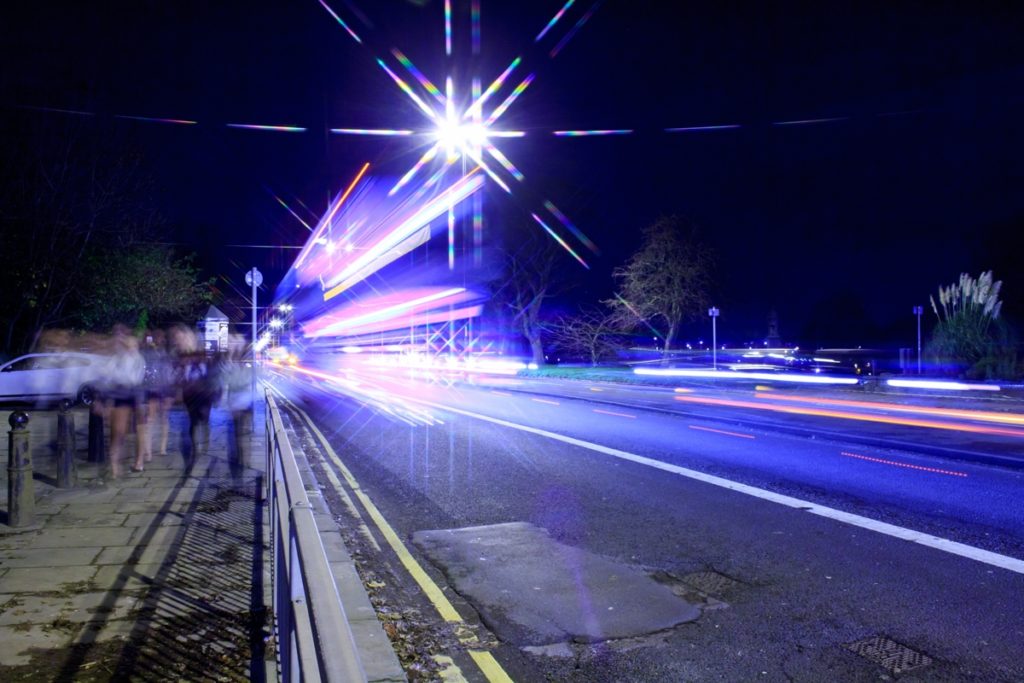
This first image is a straight Raw conversion with the white balance set as the camera interpreted it at the time of taking. The other conversion settings are as I used for my final image, and will remain the same throughout the article, unless I say otherwise. As you can see, the camera has not really compensated for the orange glow of the street scene, and this picture to all extents and purposes looks wrong. It is simply too warm. But, you can see some lovely colours in the tail-lights – bits of blue and purple and so on.
How software interprets it
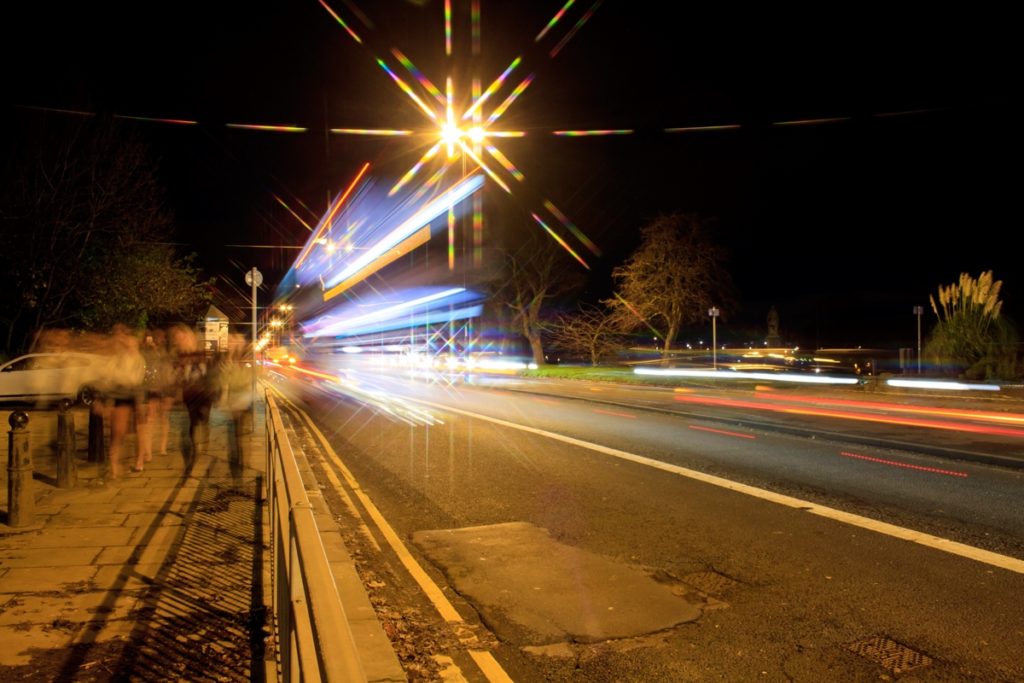
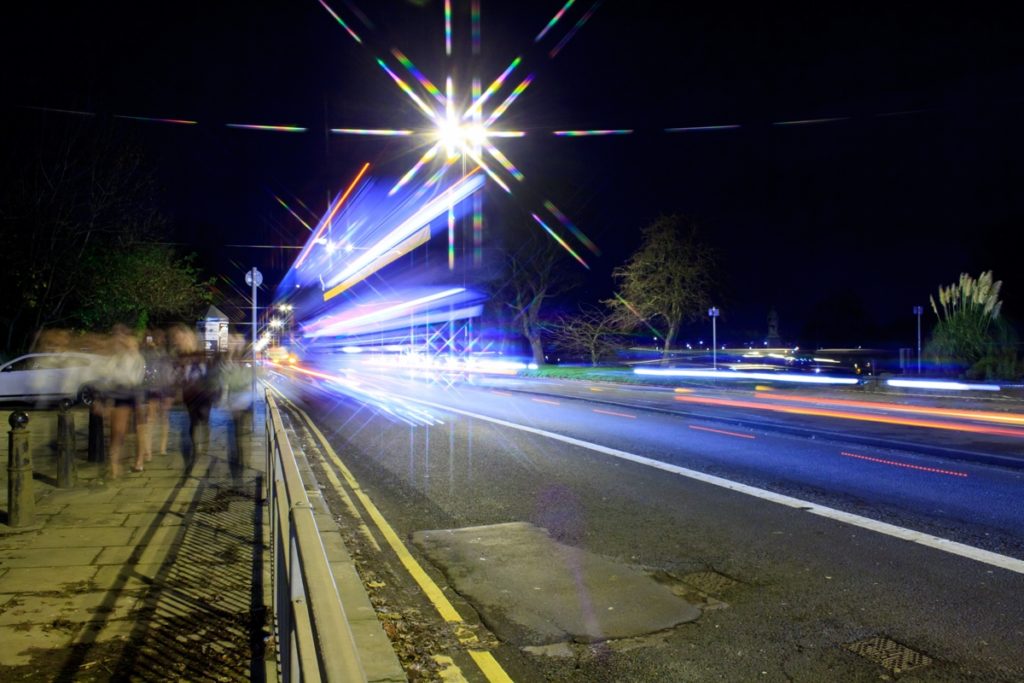
This next image is how Adobe Camera Raw interpreted the correct lighting using the ‘Auto’ setting. Interestingly it has set it at the same value as the Tungsten setting (2850K). The green of the grass is starting to come through, you can still see a quite a variation in colour in the tail-lights. But, there is still quite an amber glow to the road, which obviously in daylight looks plain grey. But pavements do not really look grey at night; the amber lights affect the colour of the scene.
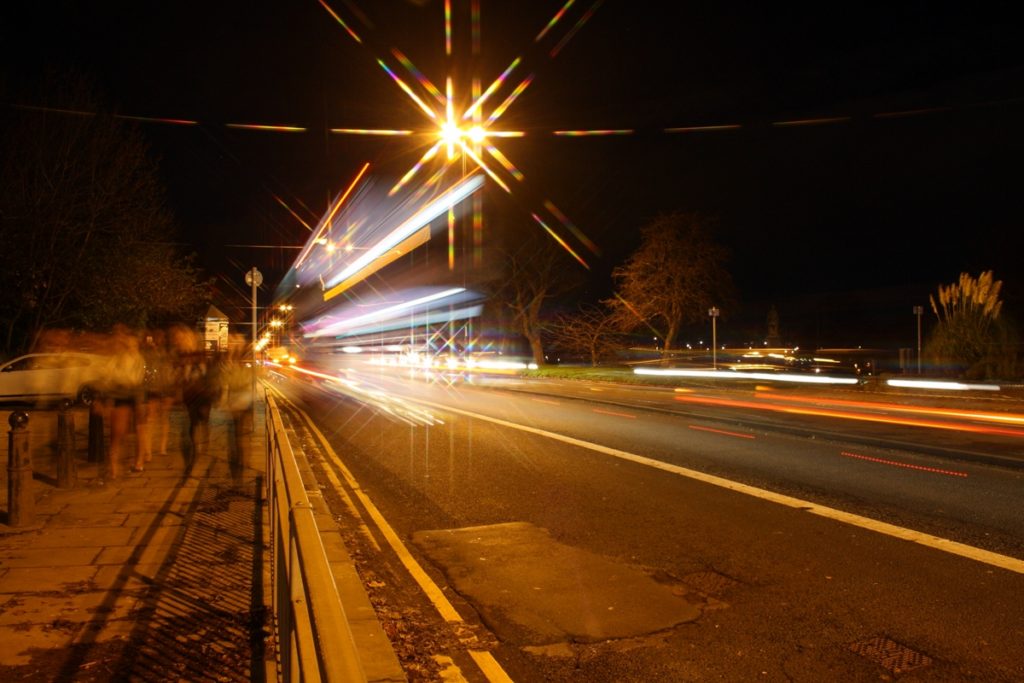
This next version is how Canon’s own software, Digital Photo Professional interpreted the scene. This software does not provide a clear indication of the magenta/green axis values. as you can see, this is slightly deeper amber than how Camera Raw interpreted the scene, but also noticeably different to the camera’s auto interpretation.
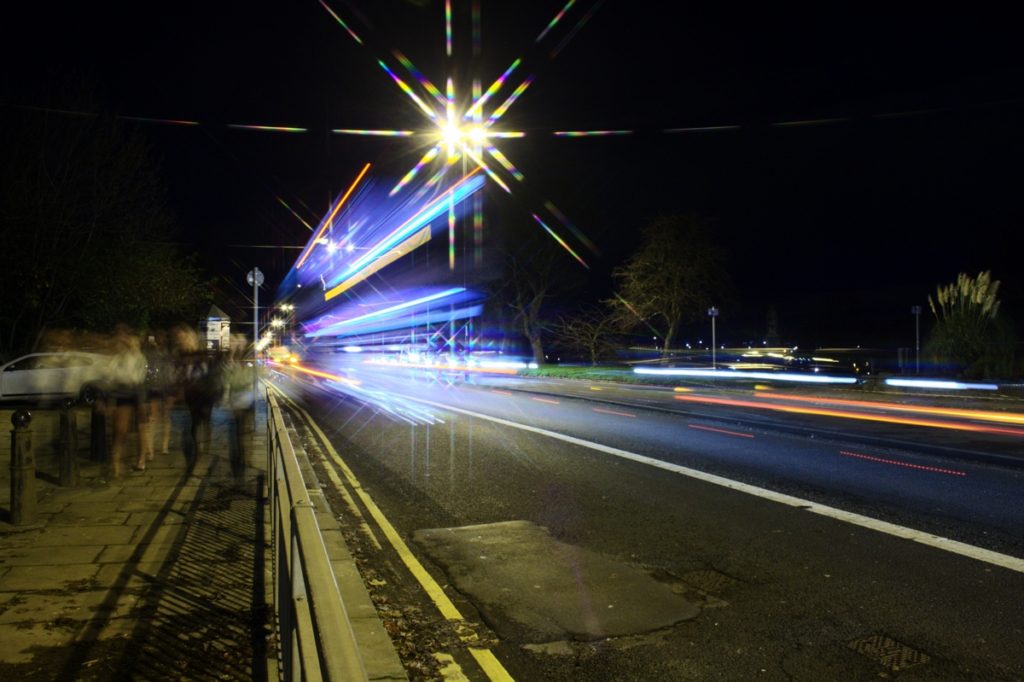
This next version is using auto white balance in UFRaw. This is a free (and very good) RAW conversion software which integrates in to The GIMP as a way of managing RAW files for this open source solution. This lists red/blue on a kelvin scale, and values for Magenta and Green on a numerical scale positive or negative to 1. As you can see, this has rendered an entirely different scene. The amber is gone and the whole scene is colder due to the lower value estimated for the colour temperature of the lights. It is also noticeably greener.
Creative interpretations
I have to say, I find none of the examples above fully pleasing. Time for some tinkering.
One of the methods which can be used to correct white balance is to sample a neutral section of the scene. This is not without problem. You can sample a white area, though sometimes the software will report that the area is too bright, or any ‘mid grey’. Obviously identifying 18% grey in an image with a heavy cast is not always easy. This image sampled the barrier on the side of the road, as you can see it is now heavily magenta/blue. Not unpleasant at all in my opinion, but not very natural.
This version tries sampling something else – The bodywork of the white car in the left of the scene. Compared to the image above it has chosen a higher colour temperature making the scene more yellow, and also moved the magenta/green axis towards green. Here the pavement looks more natural, and the lighting is a pleasant colour with variation in the lights of the traffic – but is this natural version as appealing?
You decide…