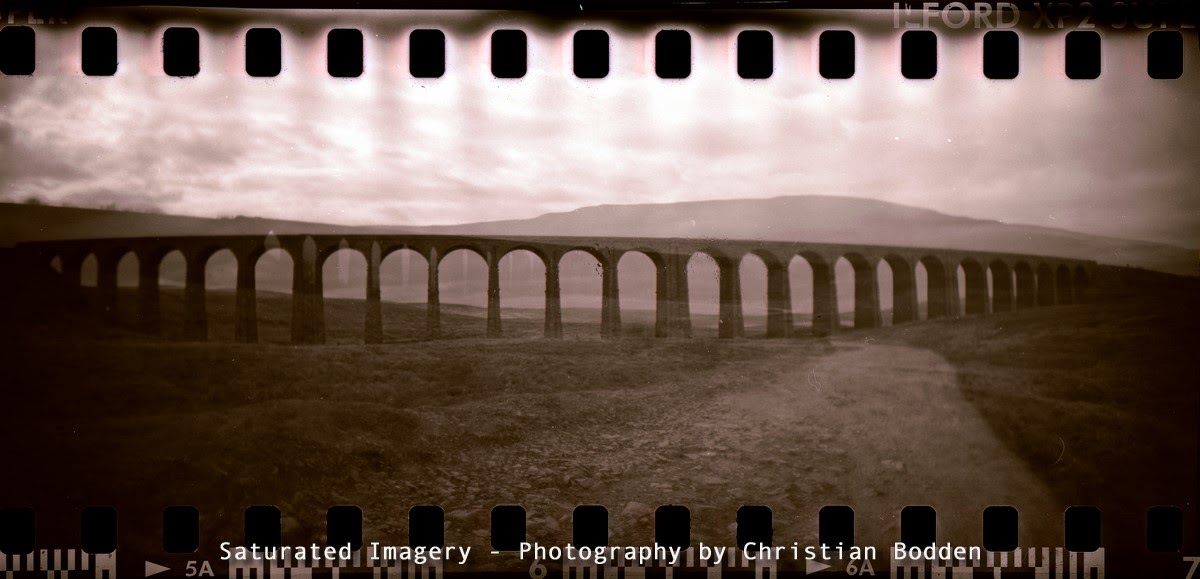
Sepia Sprockets
Following on from my post on stand development in Rodinal a few days ago, this seems as good an opportunity as any to write about another film for which I used this process, along with some digital trickery to create some exciting hybrid images.
The editing process
Working in a hybrid digital and analogue workflow to full effect often makes use of a number of little editing tricks. you can do some of this in the scanner and some in Photoshop depending on what you are trying to do.
Scanning
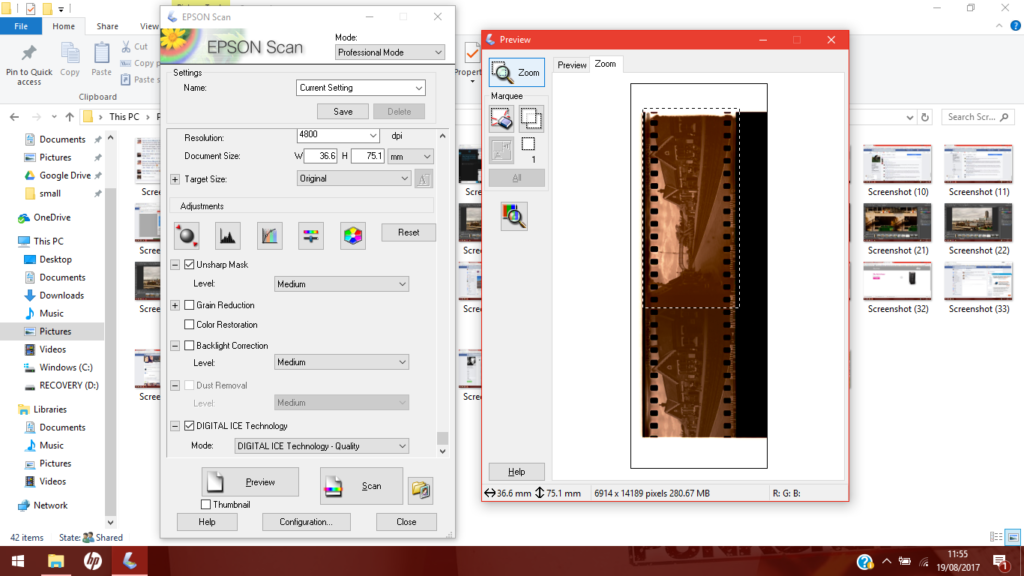
Scanning 35mm film with the sprockets can present a few issues. Lomography create the DigitaLIZA device which claims to be able to hold film flat to scan the full area, but with a bit of tweaking the 120 mask on the Epson works fine. Just line the film up with the hinged edge and trap the ends under the mask. If necessary a tiny bit of tape on the end can help. The film may bow up a bit, but with photos through a plastic lens is that really going to make much difference?
I scanned these images as is. That is to say while I made certain choices for settings I just scanned them as a raw file, aiming to do all the adjustments in photoshop later. I used a medium unsharp mask setting, and selected Digital Ice dust removal (have a look in my glossary if you are not sure what these terms mean). I also selected colour negative as the main setting – this setting has some effect on the way that Epson Scan colour corrects if this is performed at the scanning stage, but for now it just provides me with a inverted (positive) image with no changes. Because I am not correcting in the software I can leave a fair border around the portion of the scan I want.
Into Photoshop
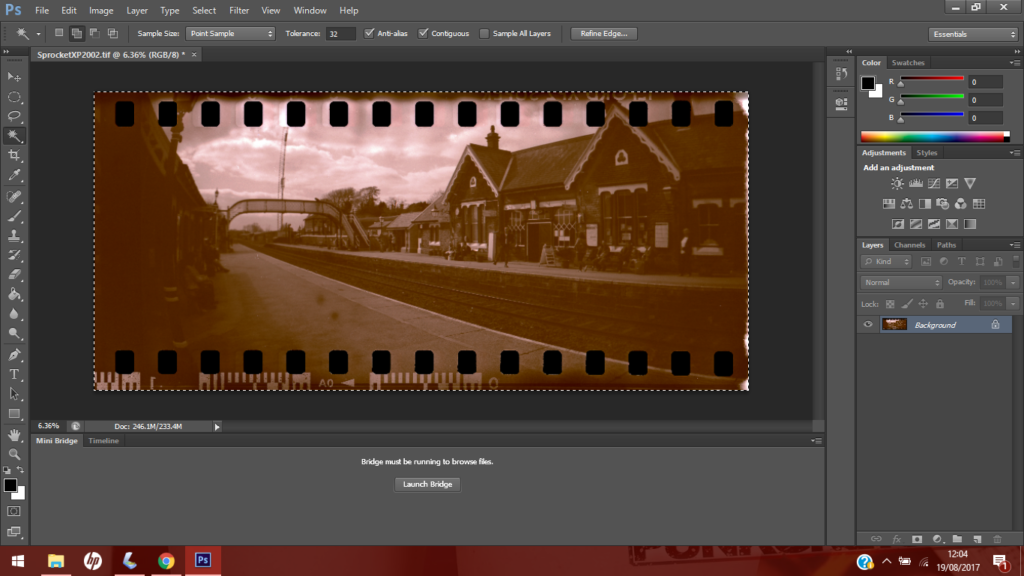
Now it’s time to open the scanned image in Photoshop.
After trimming the image (you will note I have left some rough edges for effect), the first adjustment I made was auto-tone (Image>Adjust>Autotone). You could also remove any dust or marks at this point. Auto tone works like a contrast adjustment on the individual channels of the image. It also darkens the darkest pixels to pure black, lightens the lightest pixels to pure white, and redistributes all the other tonal values in between. This creates a slightly more nuanced contrast adjustment than the basic Auto Contrast command – choice of which to use is often what looks best. In this case it begins to remove the cast from the film base- but not fully.
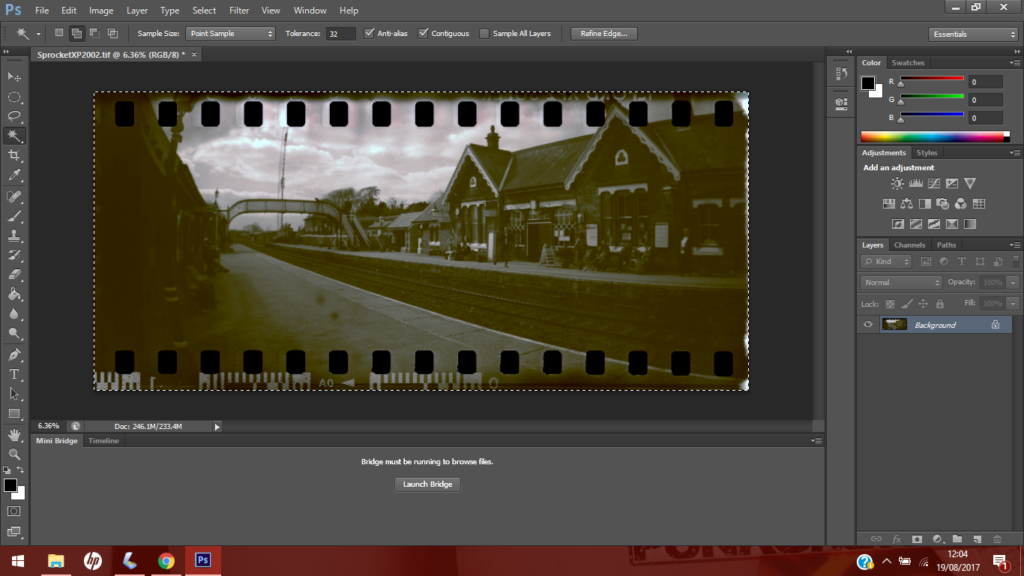
Following this I used Auto Colour. This works in a similar way, but it attempts to neutralise the mid tones of each channel, removing colour casts. The reason why I have done this as a second process will become clear below.
This is the result of the Auto Colour adjustment. The software has (pretty much correctly) identified this as a more or less monochrome image and has edited out the colour base.
Photoshop provides a useful function, whereby you can, in many cases, fade the previous adjustment – effectively a modified version of creating a layer for the adjustment. All of the blending modes are usable in this function. For this I used the Normal mode which is essentially like mixing the two colours of the original and modified pixels. I set the opacity to 50% which as you can see below brings back some of the cast.
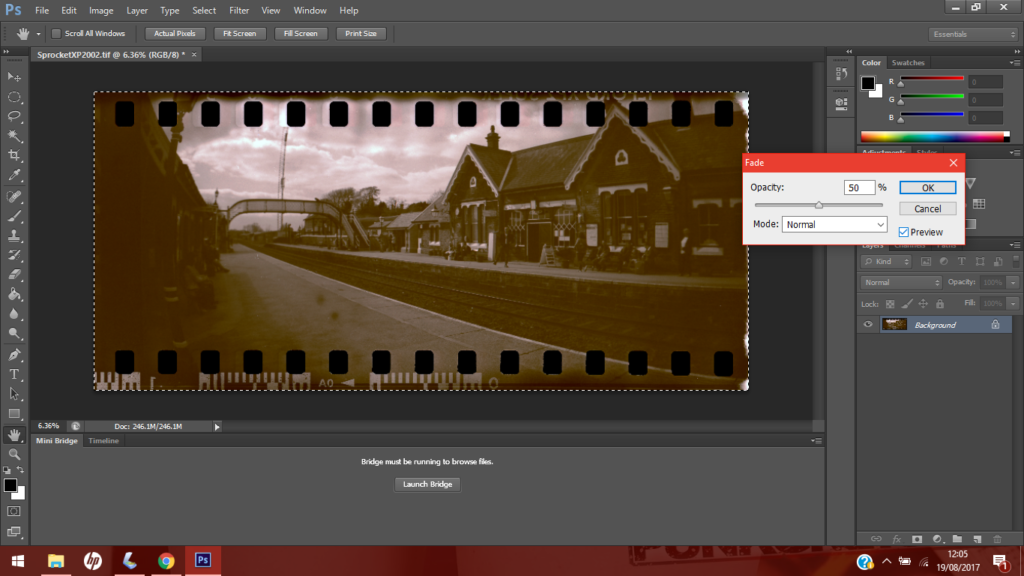
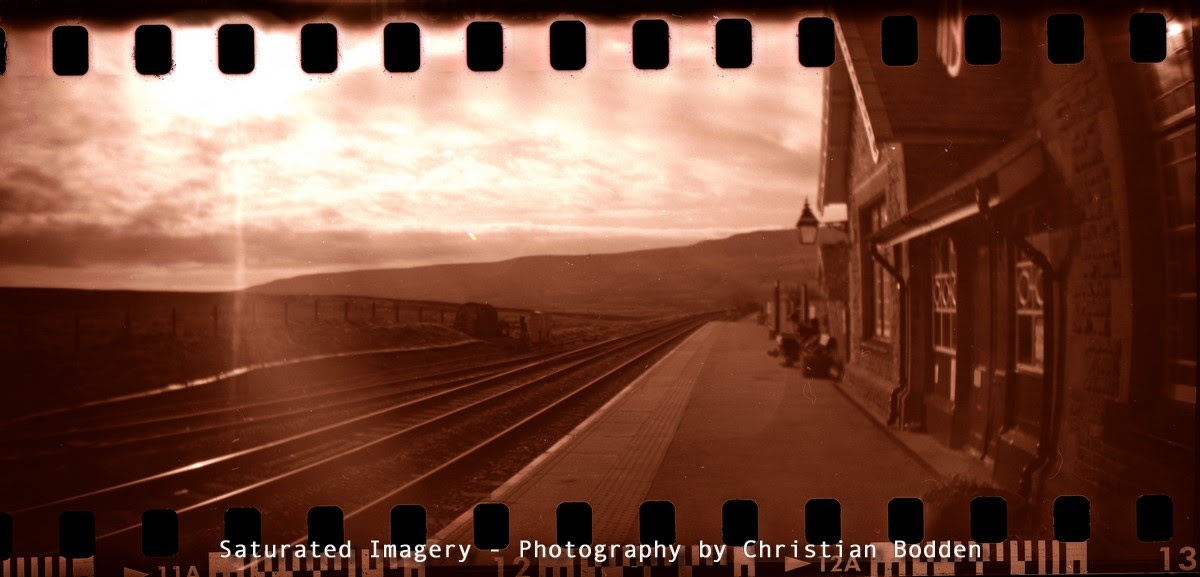
This is beginning to look like I want it, a kind of selenium toned image style.
However, I would like to just introduce a little more punch into the image. I feel that there needs to be some more contrast, but skewed to lighten a fair rage of the mids and highs, and only darken the deepest lows. The curves tool is perfect for this, and I saved the setting for the other images off the film.

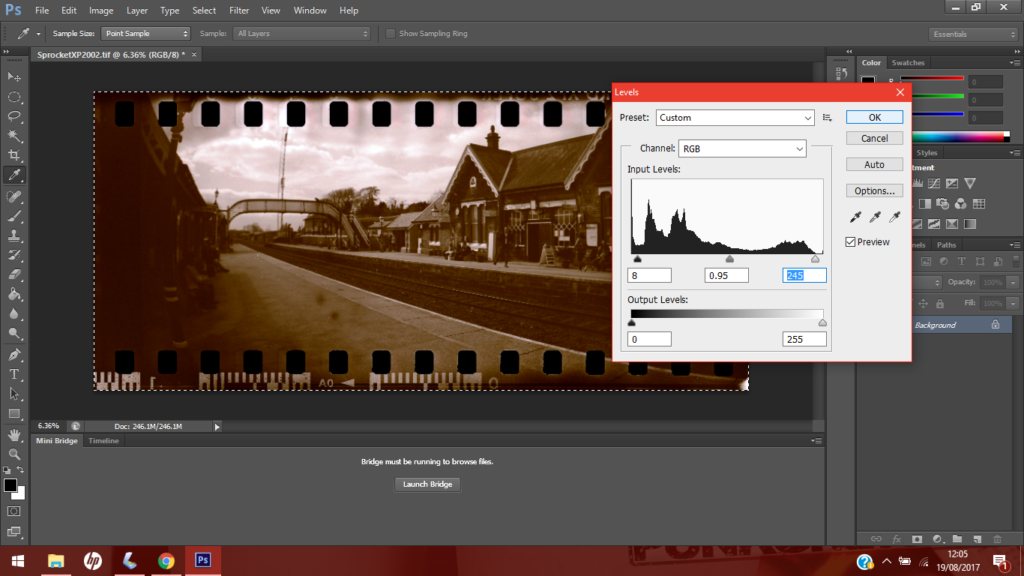
Finally I did a quick levels adjustment. This is an extra step that I could have done within the curves process, but levels are a quick way of just bringing the black and white points to where you want them (e.g. taking out the last bit of colour cast in pure whites) and then the mid tone slider can just crisp up the image after this process.
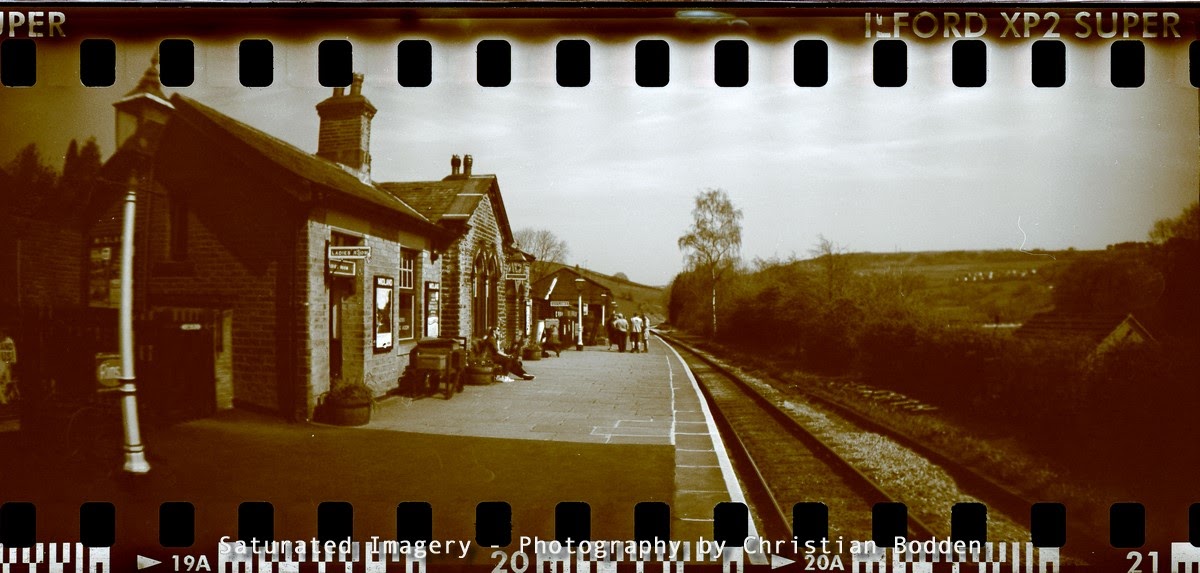
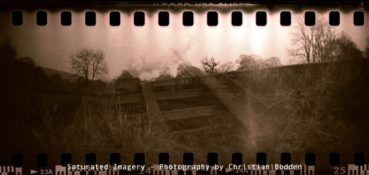
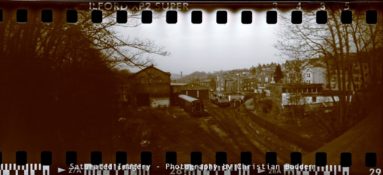
So there you have it. A hybrid image, on a toy camera, to a modern film, including the rebate, toned to resemble an old printing process.
Gallery
Here are some more images from this film. I have played with some different intensities of the toning effect. You will notice the image from the tutorial is reversed – I forgot to do it before the tutorial images, and could not be bothered re-doing them all.