Nuclear Implosion
There has been a bit of a buzz recently about this new film produced by Adox. This promises ‘Imploding Colours, Bursting Reds and Toxic Grain’. I have read that it was in fact a dud batch with one of the layers incorrectly coats. It is suggested that shooting at different EI settings produces different results; rating it at 100 provided muted colours leaning to blues, and at 400 it will lean more towards reds. Some people have suggested that (unlike redscale film, where this differential effect is due to the amount of light reaching the different layers) that this is due to effects of scanning- the scanner is not getting what it expects and compensates wildly.
Developing and Scanning
Scanning my first roll (shot at EI 100), it is certainly clear that this is a film that is open to a bit of experimentation at the scanning stage. This is something I have written about before, and something that the Lomo-Hipster crowd need to think about from time to time. There is a lot of prattle about ‘unpredictability’ and how great it it is; I don’t really buy into all that. Of course it is fun and rewarding to try something new that you don’t know how it will come out – whether this be sticking an old film that seems to have been stored in someone’s jock-strap into a toy camera and seeing what happens, or shutter dragging with Ilford Delta 3200 (ok, this one was due to being so pissed I really didn’t know what I was doing) – but if I try something new I like to be able to recreate it again if it works! And this is perfectly possible. What they refer to as ‘unpredictability’ is really (unless you have a clear idea what you want and know how to ask for it) a product of handing your film over to be printed and scanned as interpreted by a machine, or at best a lab technician who has to make a ‘best guess’ based on what they think you want.
It is clear that the effects you get from the Adox Color Implosion do depend on how it is scanned – true of every film, but more so of film that is not just the normal C41 colour negative. The base on the negatives is a faint purple, rather like Rollei Crossbird when processed C41, and the effects are quite similar. Scanners work by a process of sampling the white and black points of film (much in the way of white balance in a DSLR Raw file), but also have some idea of what to expect (and some software such as Viewscan can be set to work like this using a preset colour of film base which is used to define the corrections).
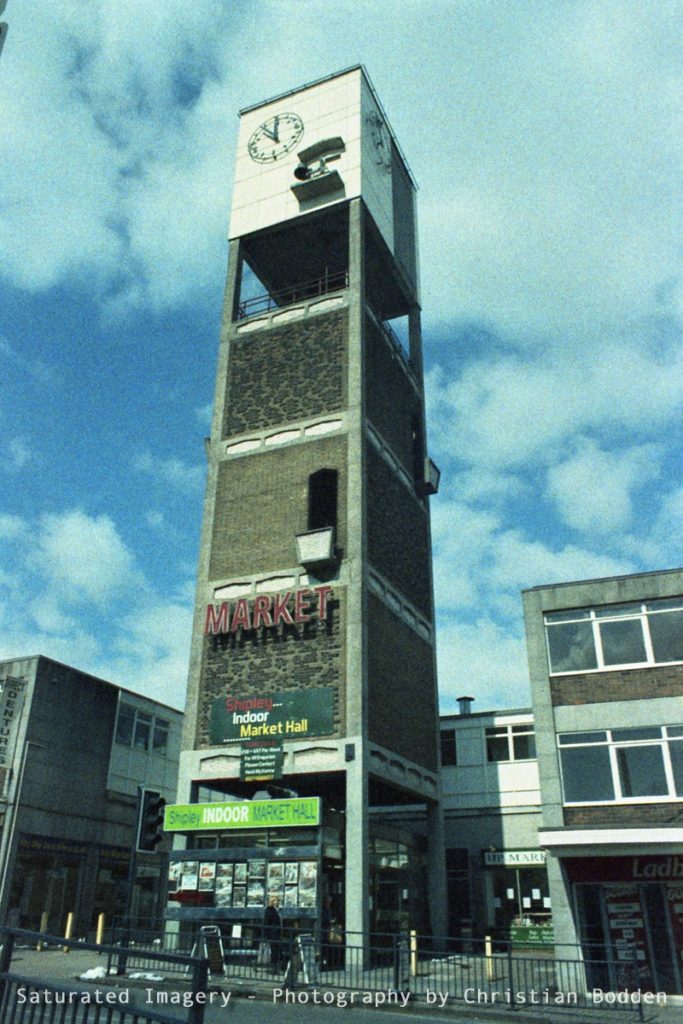
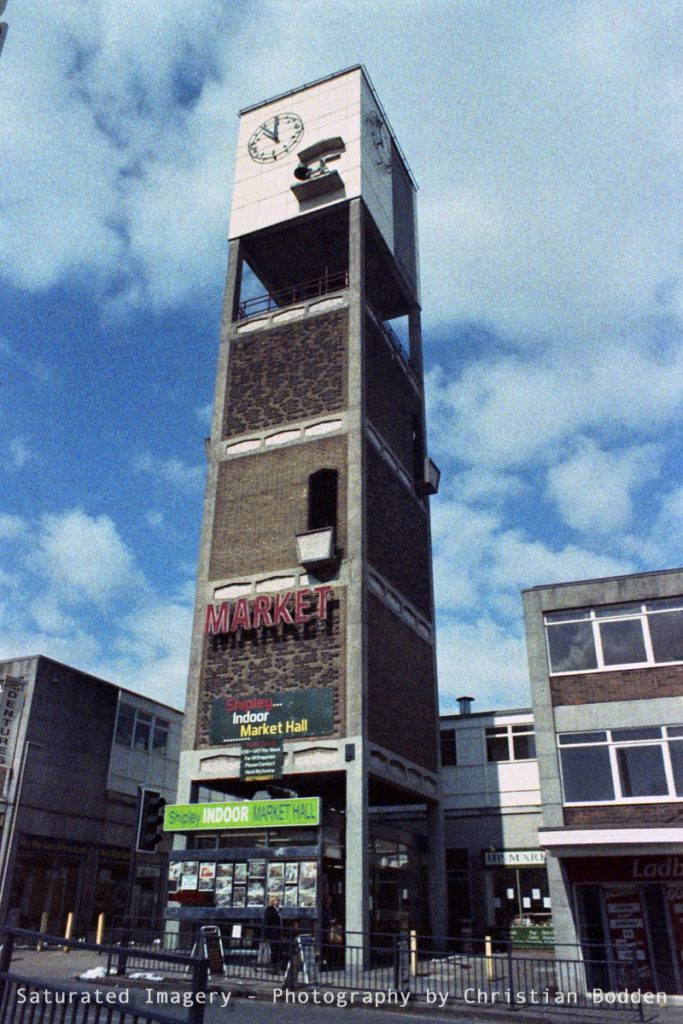
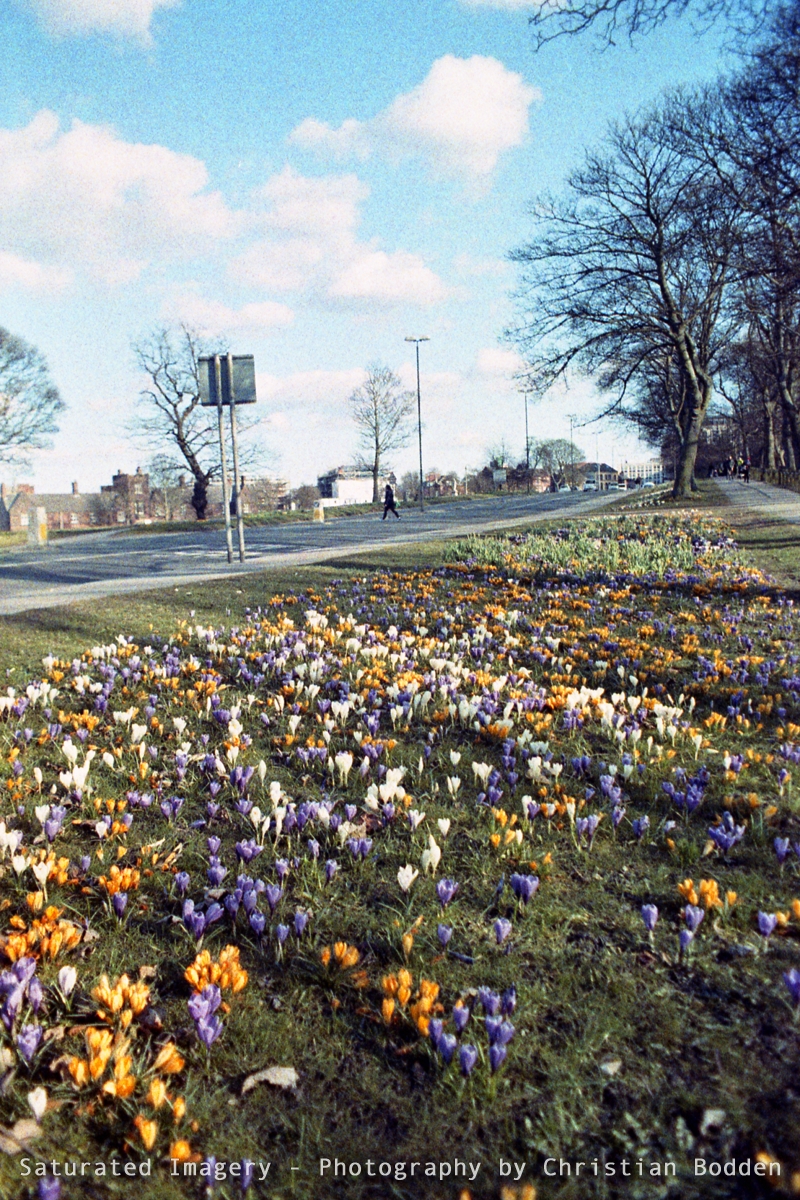
The raw scans from the Adox have a yellow tint to them, which is what you would expect from the mauve base. In this state they look a little like cross processed Fuji Sensia 400. The natural colour correction that is applied in Epson Scan renders the shots with a slight green cast, as in the shot to the left of Shipley Market.
My usual scanning workflow is to do a basic correction in Epson Scan, using the auto setting which I then fine tune by hand and apply to the whole roll. For these I used a contrast boost of +15 and a saturation boost of +20, and pulled the white point out a bit to keep some of the yellow base colour.
This is then tweaked individually in Photoshop Elements. Although I liked the green cast here, it did remind me a bit too much of many generic x-pro sets. I played about for a bit before deciding that for most shots the simple Auto Colour Correct added just enough red into the equation to make these look how I wanted. I also boosted the saturation a little again.
I have also seen some shots from the Adox which seemed to have kept the yellow cast. To this end I did have a bit of a play, to tinker with ideas which I might use in finished prints for different purposes.

This version was scanned differently. I did not use the autocorrection in Epson Scan, but set the black and white points on the histogram manually on the master channel. I boosted the contrast and saturation +20, and then in the colour box I shifted the yellow/blue slider to +40 (into the blue) to tone down the bright yellow cast. This is a method I often use for cross-processed slide film, particularly Fujichrome, to maintain the strong colourshifts from cross processing these films.
So, to the left is another interpretation of what Adox Color Implosion can do – equally true and valid for the film, but totally different.
I will experiment more with my next roll, trying some different EI settings to see what they can produce. For these I have chosen the slightly saturated but with relatively natural colour variations, as this differs from other sets I have produced.
Gallery
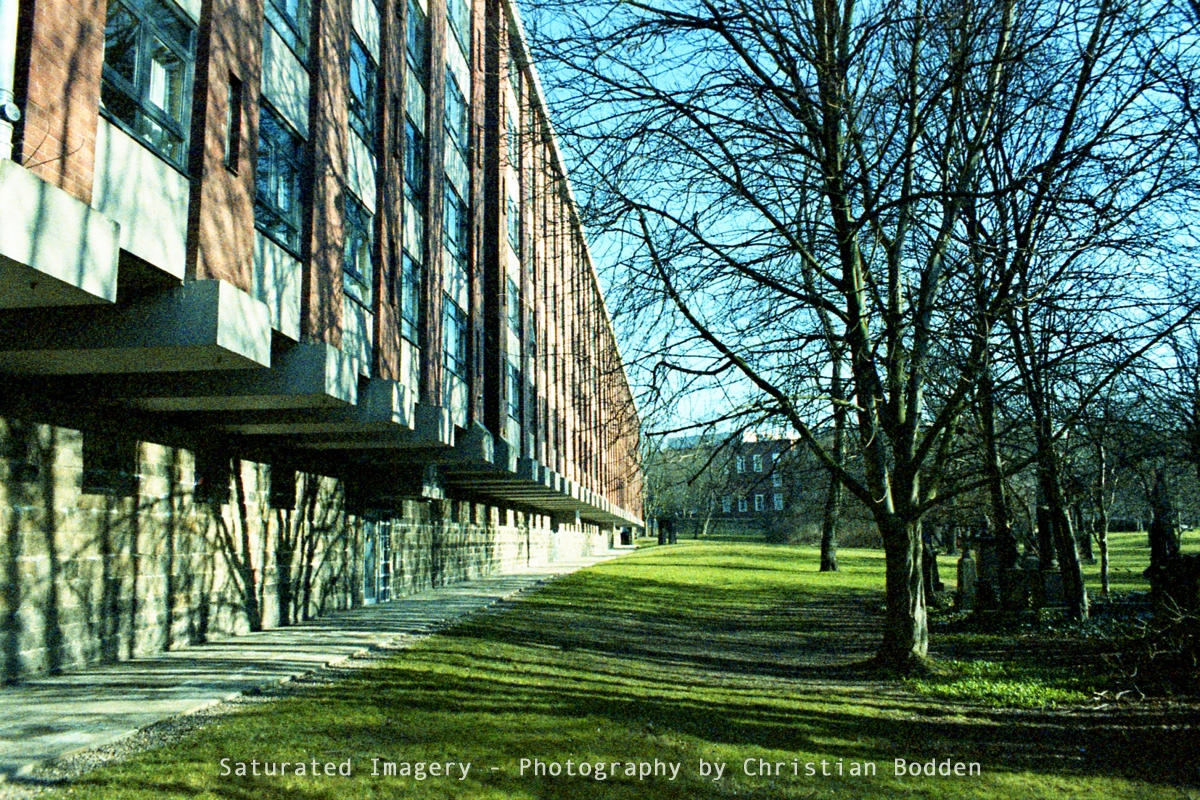
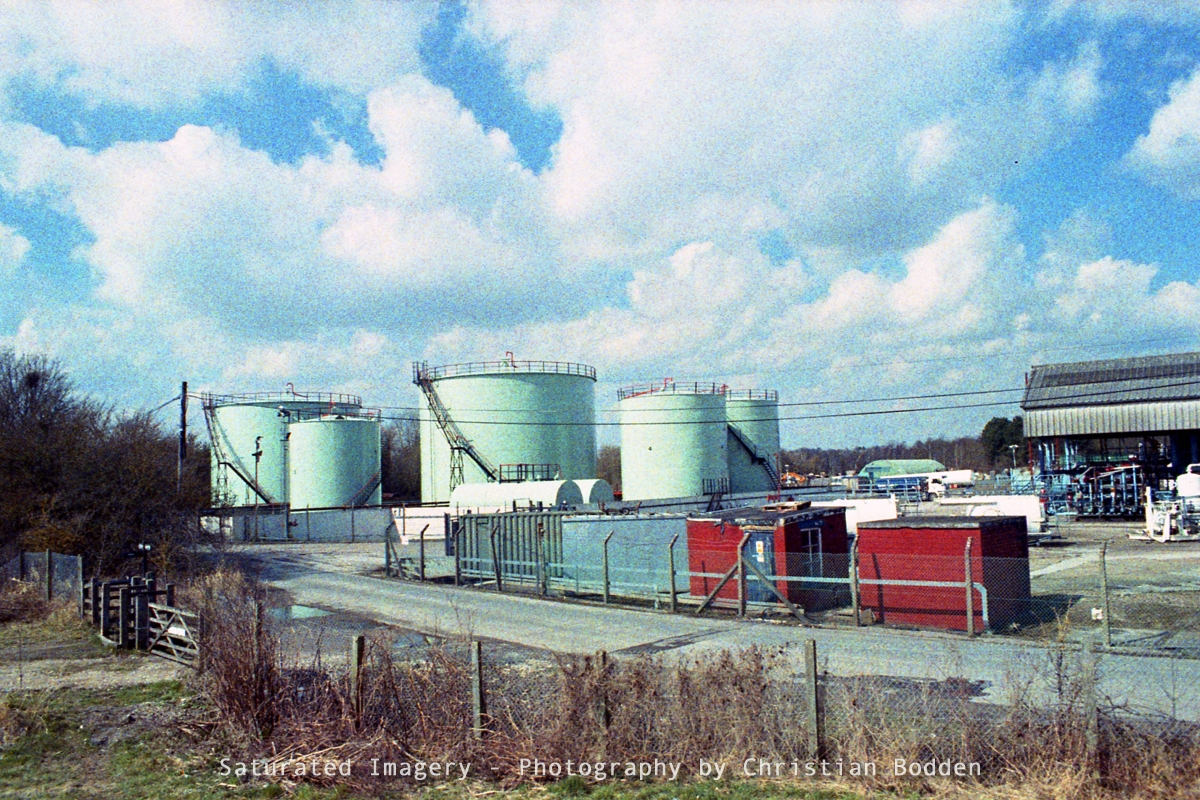
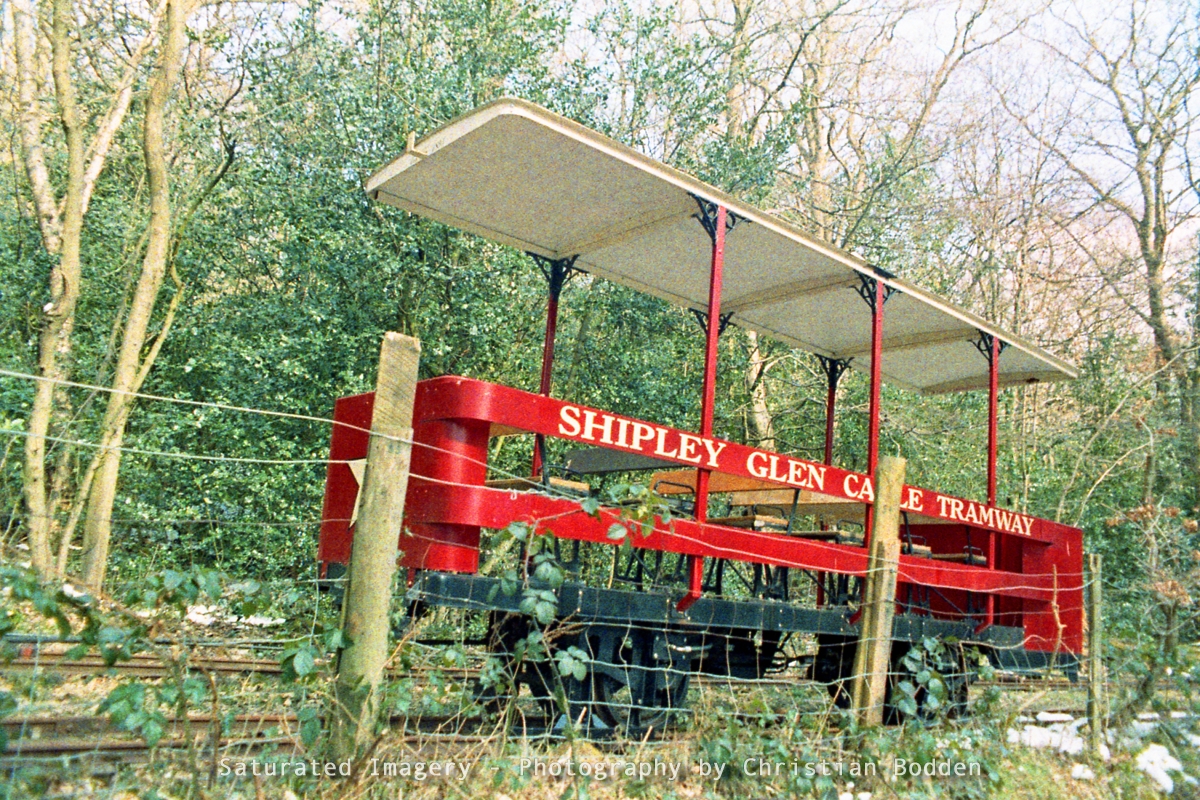
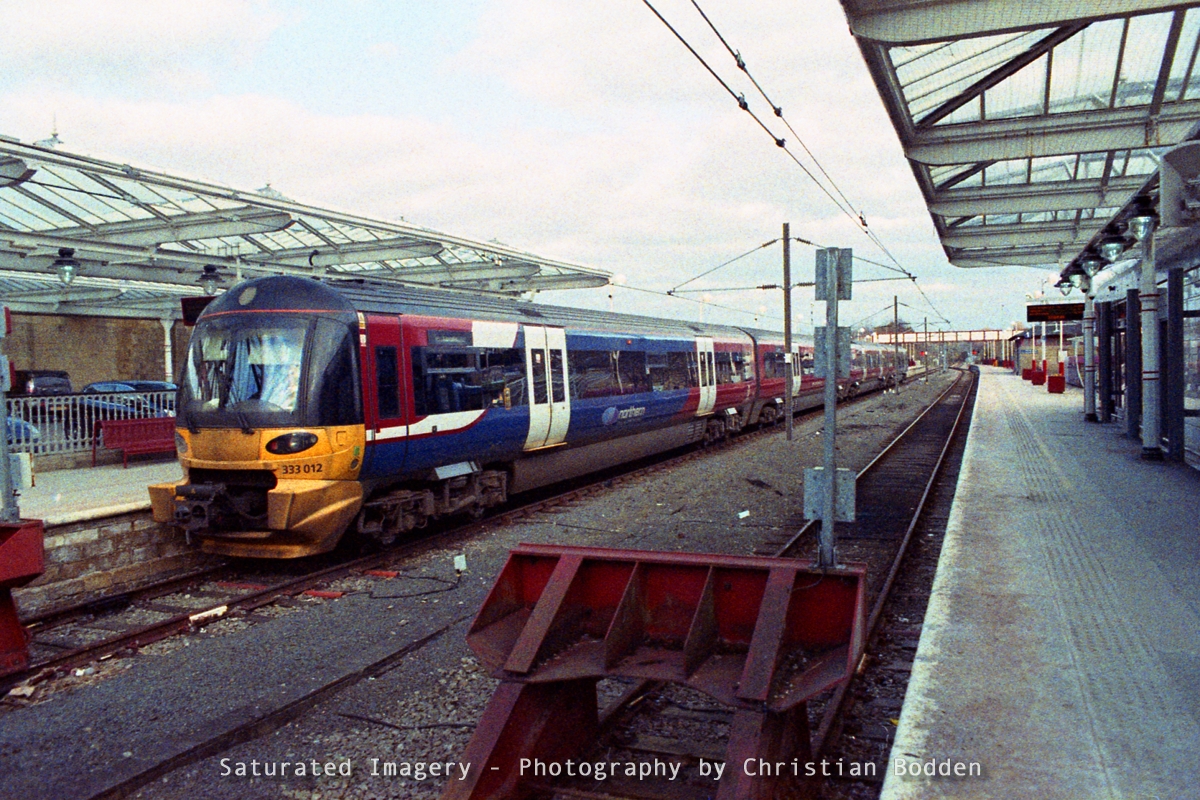
A gallery of a few more of my shots is below, and you can see the rest of the roll on my Flickr set. I shot this roll in my Praktica TL-5B with a Vivitar 28mm f/2.5 lens, one of my favourite combinations for film landscape work. The shots were taken on various occasions round Leeds, Otley, Ilkley and Saltaire. It has been nice to finally get some sunny weather to do this, even though for some of these there was still snow on the ground from the easter freeze!

The Adox Color Implosion came from Nik and Trick Services Photographiques in Folkstone – check them out, they get some nice film in and provide a variety of other services for photographers.