Mending my Ricoh 500G
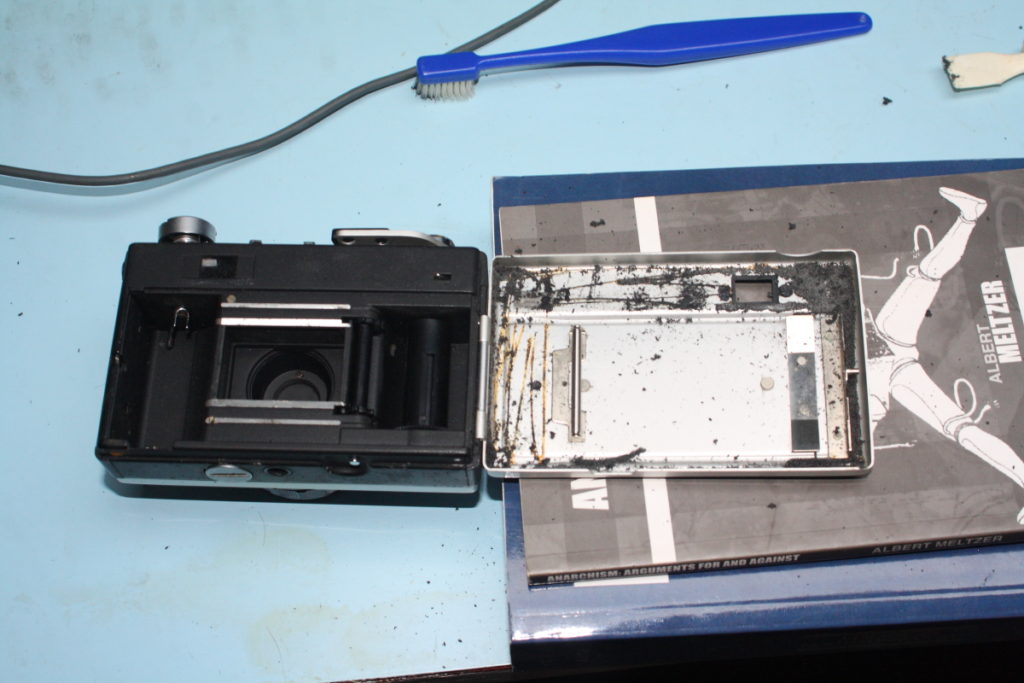
I recently got hold of a little Ricoh 500G from the local car-boot sale. The shutter and lens were all in good nick, but there was a crack to the viewfinder covering, and when I opened it I was met by sticky black pile of gunge inside the film door.
Resealing and Mending
Time for a resealing project. The first task was to mend the viewfinder – I considered glass bond for this, but this needs UV to set, when could potentially have taken a while in winter…
Also it is fiddly, as making a glass to glass bond along the broken edge would then mean dismantling the lens assembly to refit the glass plate. As this was just to make the camera usable, not for a full makeover I just decided to use some re-positionable epoxy, on the surround where the cover plate attached to the body.
Next the sealing. Rioch 500Gs are relatively easy to reseal and there are varying instructions on the web, what makes them quite simple is that the seal is a single foam sheet covering the back of the door. I bought a sheet of 3mm open cell, self adhesive foam from http://www.cam-spares.com – they were very good, though my order did go astray in the post they replaced it without any fuss at all.
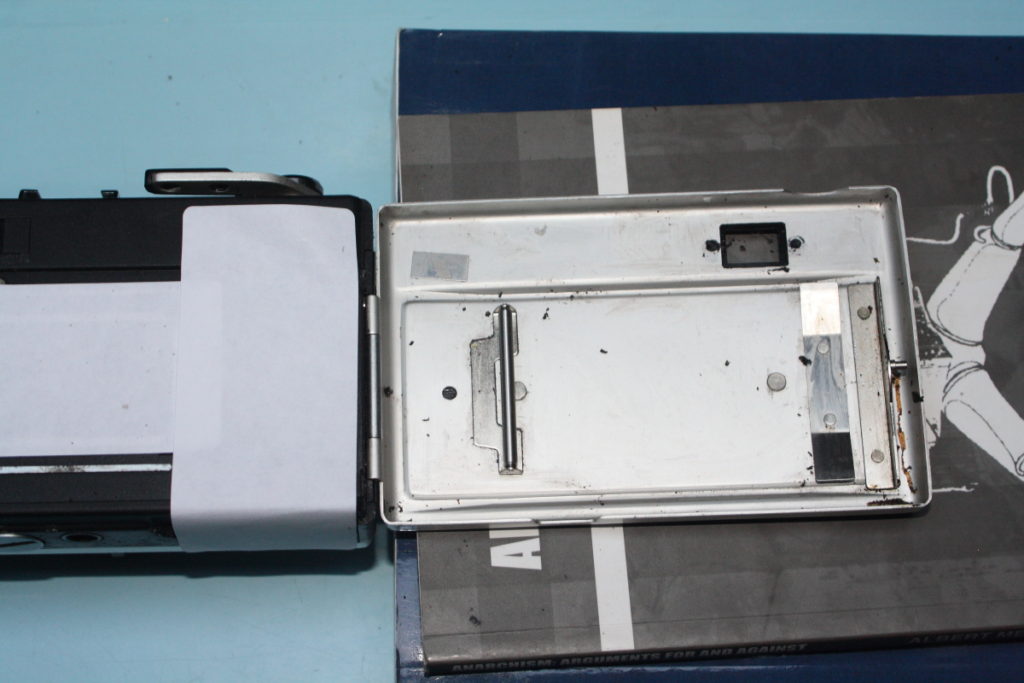
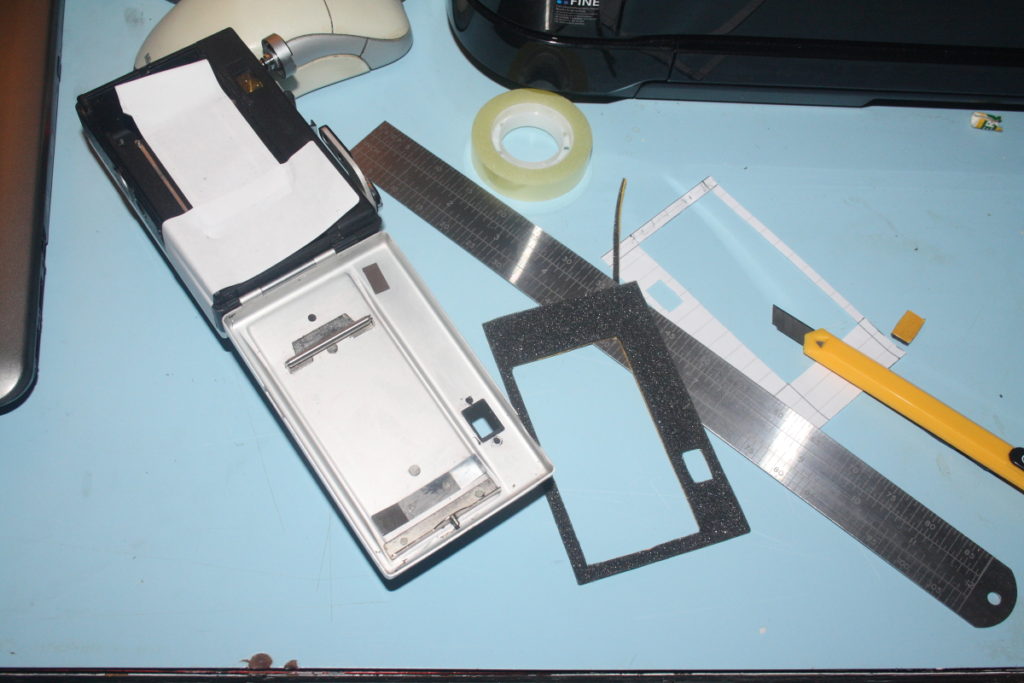
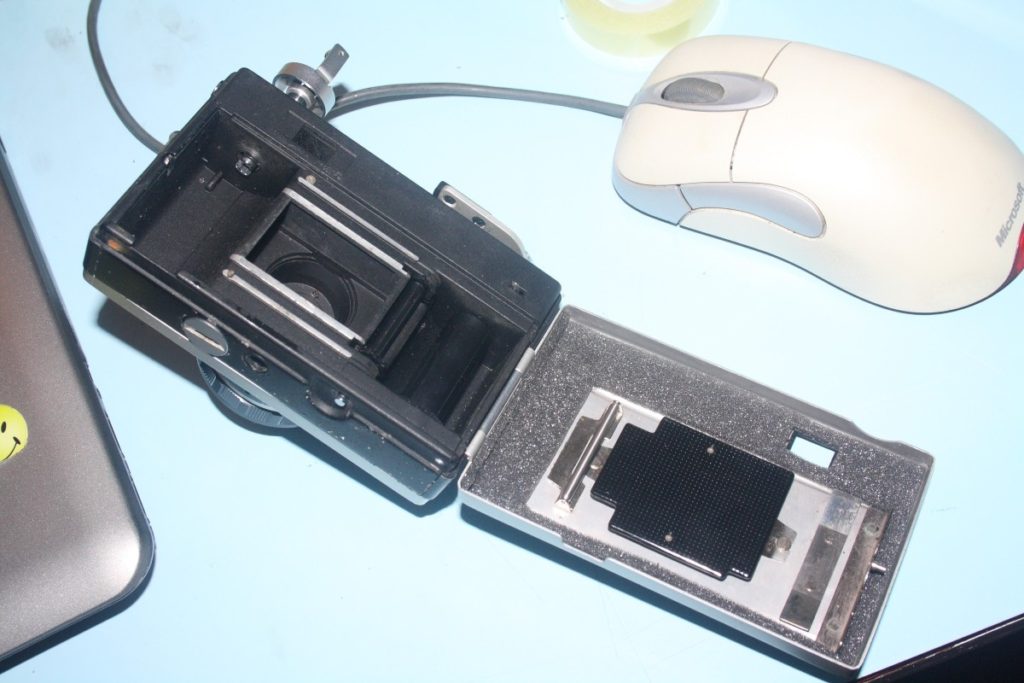
The next step is to remove the film tension plate – this is simple as it is held in place by the sprung backing and just pops off the clips. Keep this safe.
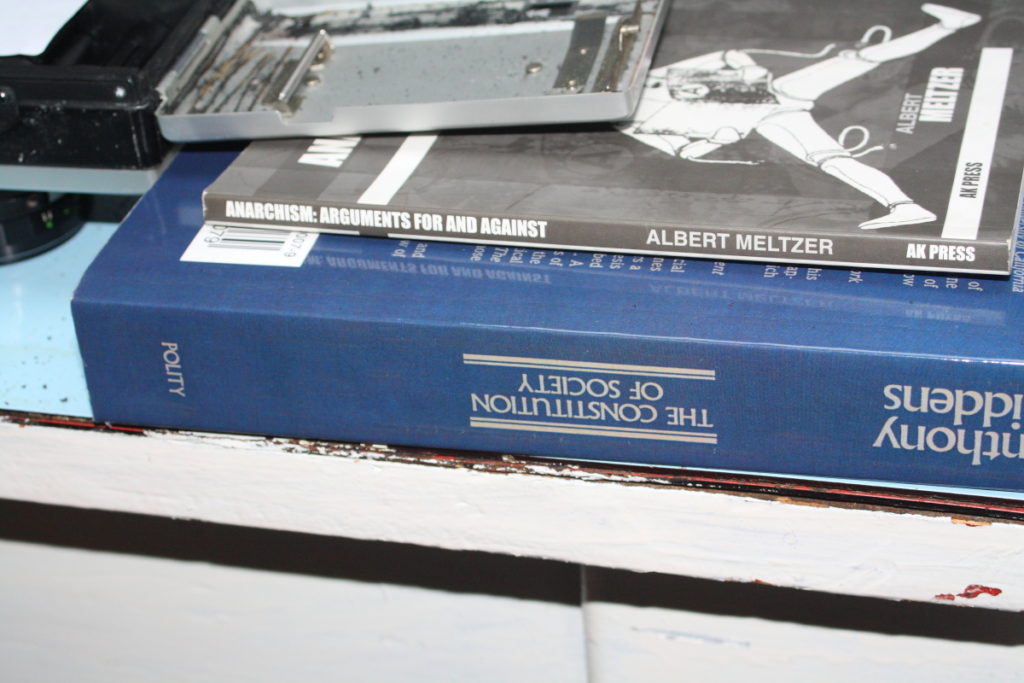
At this point it is worth finding something at a suitable height to support the door to prevent any strain on the hinge. Some old sociology text books do a good job… The next step was to clean out the old seals.
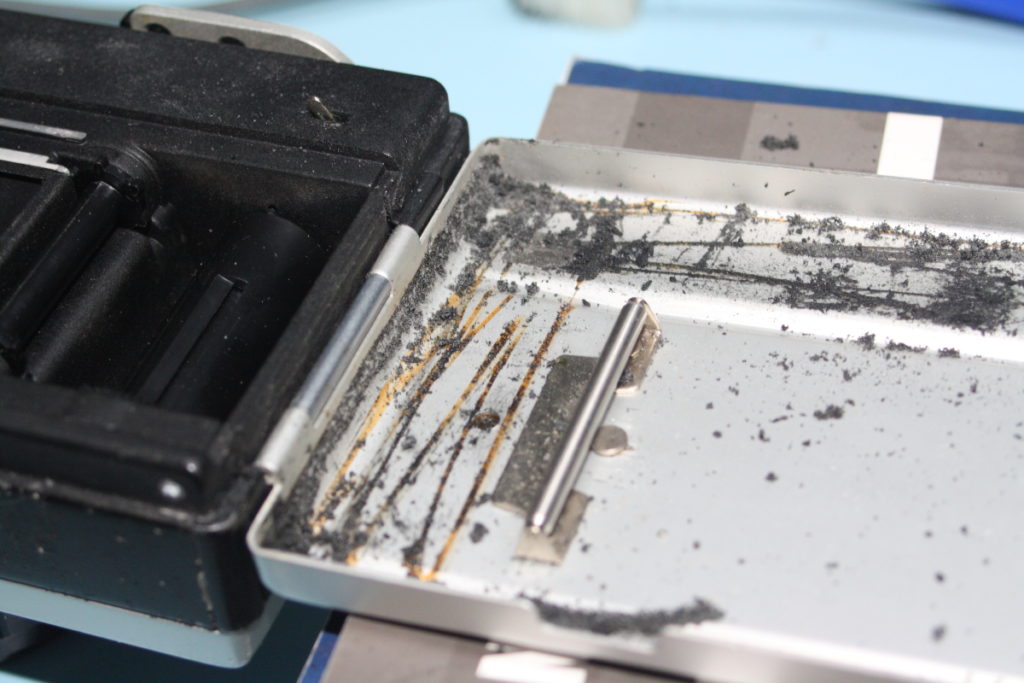
This is a time consuming and sometimes mucky job, but it is important to do it well. I used various tools for this, I tried gently with a screwdriver, but this was scratching the door, so I switched to a glue spatula.
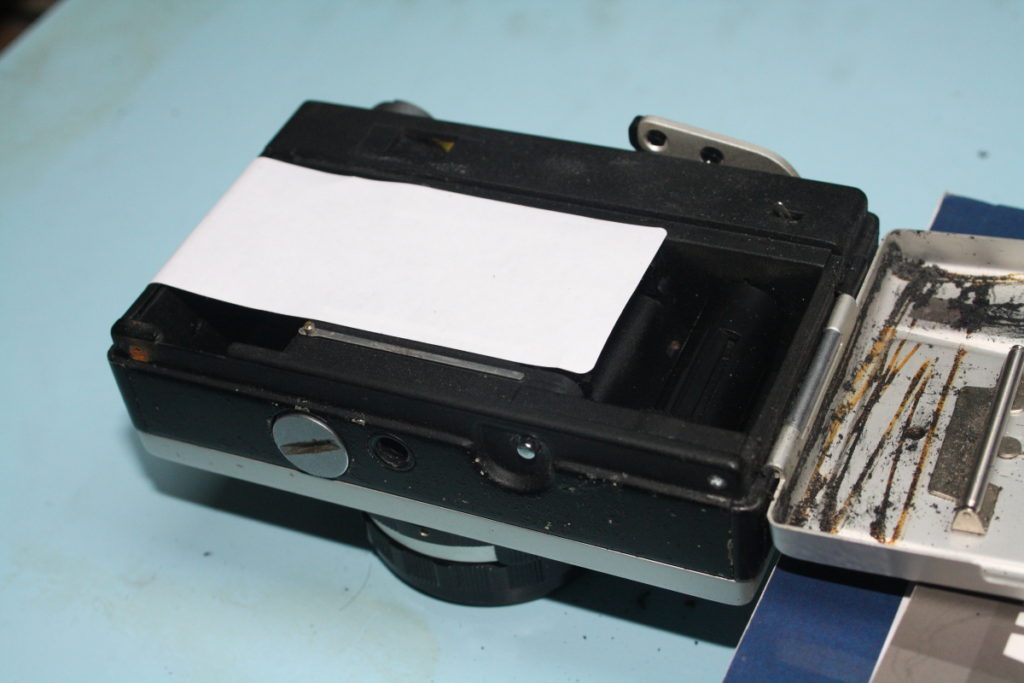
This took off the bulk of the foam.I decided at this point it might be a good idea to protect the shutter compartment from all this sticky foam, covering this with an address label proved a good plan.
The old foam stinks, and tends to be pretty sticky. You will normally need some kind of solvent to shift it. I used meths as this is what I had to hand, lighter fluid is also a good option and easily available. An old stiff bristled paint brush was good for painting the solvent onto the door and scrubbing the gunk off.
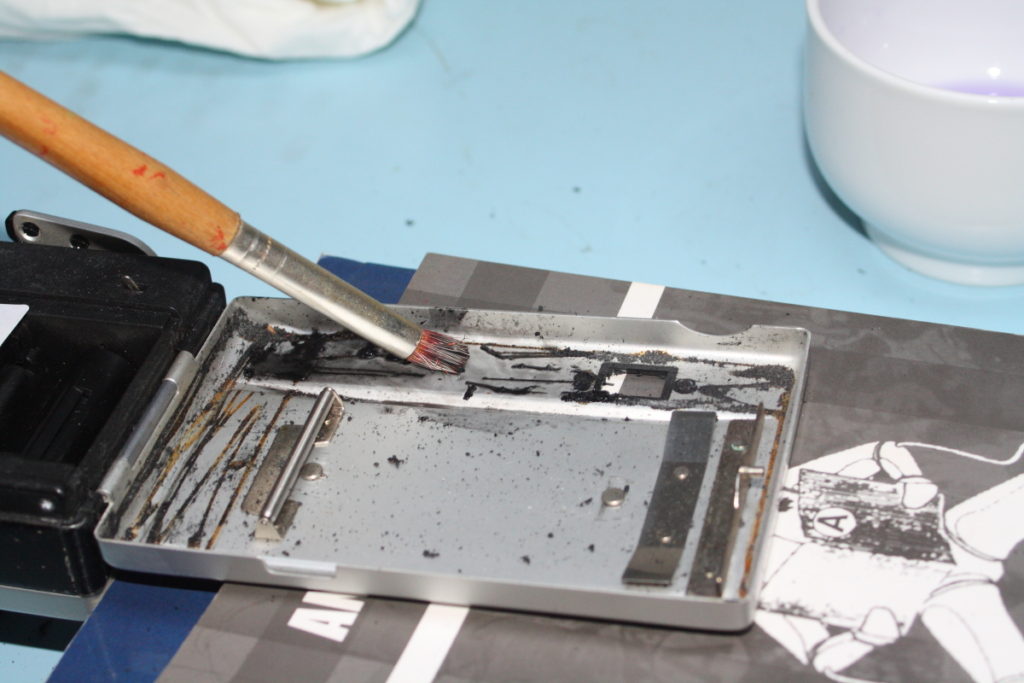
This whole process took a couple of hours in the end. It is worth doing well as any old bits of loose foam can stop the new seals sticking well, and can come loose and fall off into the body and foul the shutter.
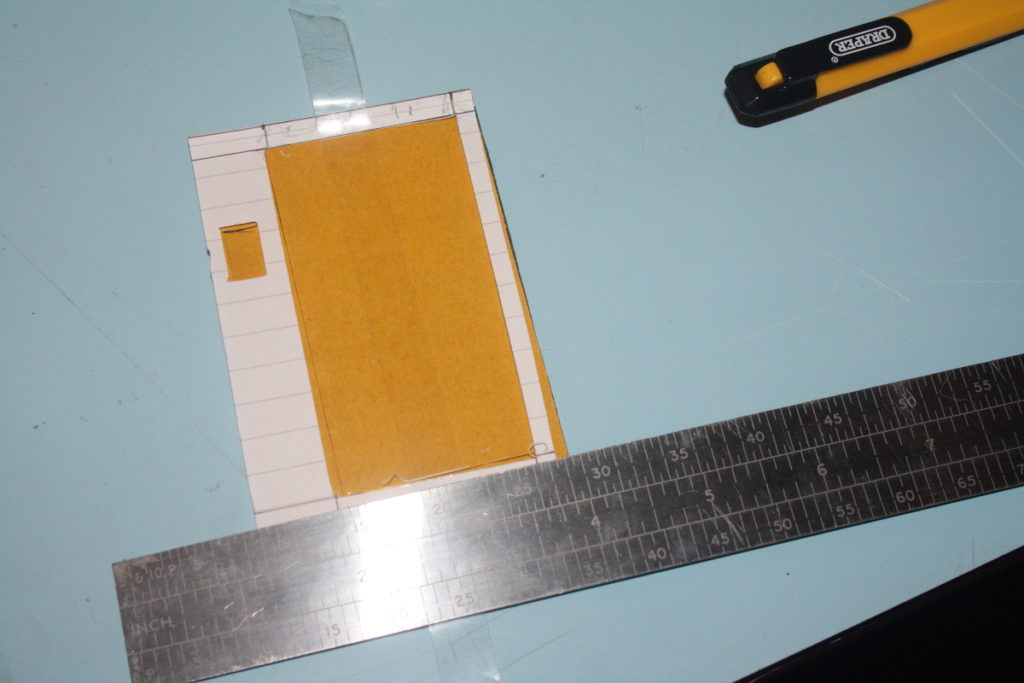
The next stage is to cut the new seal. I measured the dimensions that I needed – note that the seal extends around and up the side at the hinge – and drafted these onto a piece of paper.
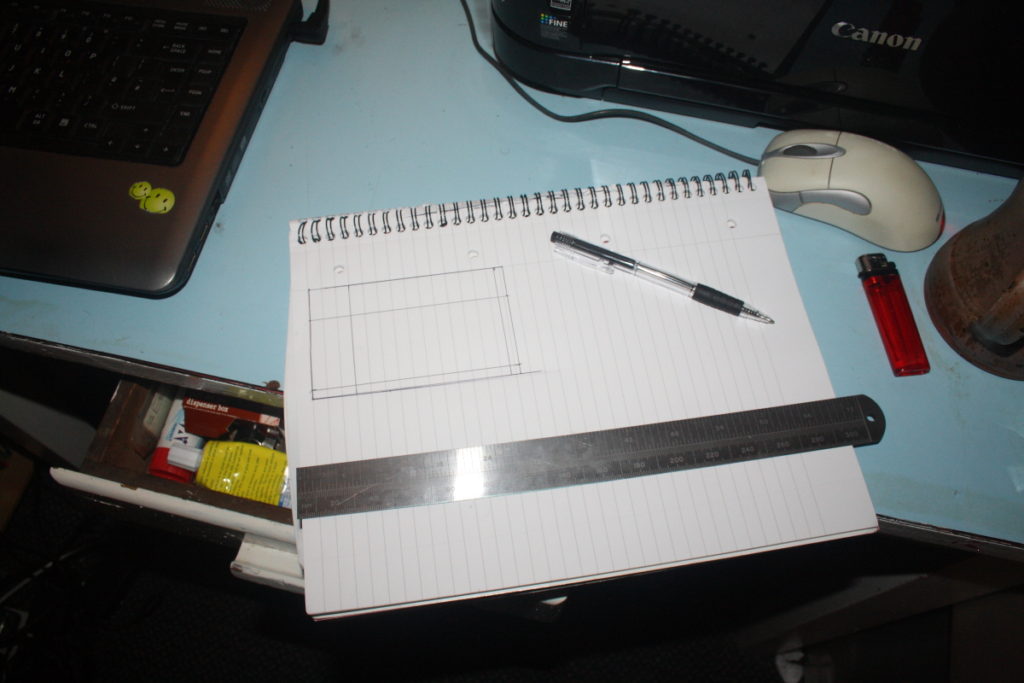
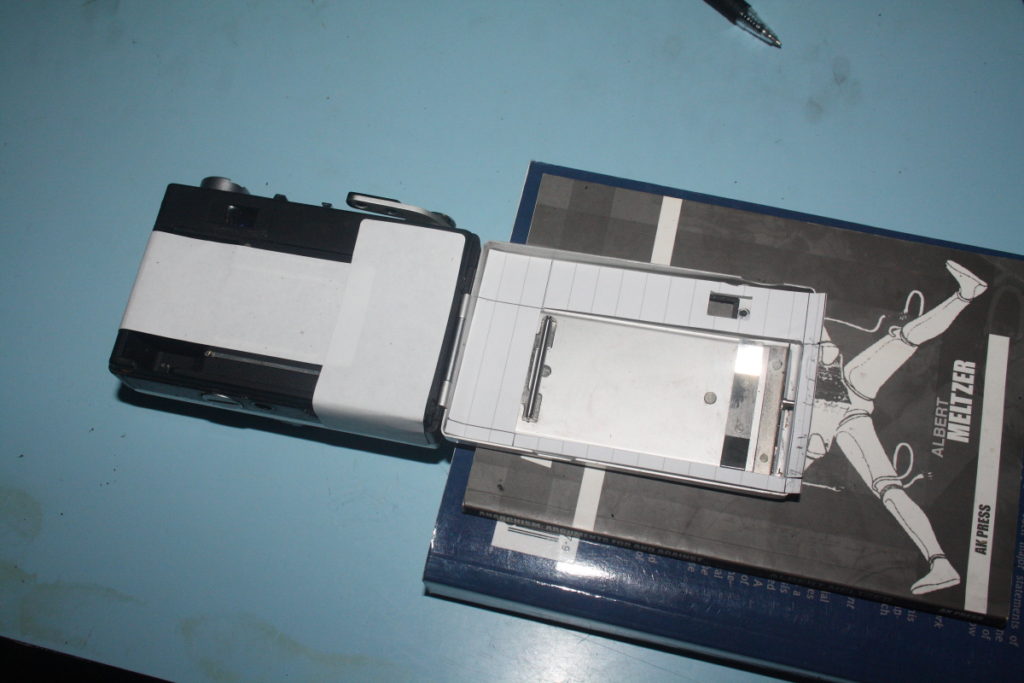
I then cut this out and checked that it fitted in the door.The easiest way the cut the viewfinder hole is to turn the camera over and trace round it through the viewfinder opening in the door, allowing a couple of millimetres extra.
Now you are ready to cut the foam. It is easiest to do this from the backing side, as this allows you to squeeze the foam down to make the cut.You will need a pretty sharp craft knife for this. Remember if you are cutting from the back, to reverse the template! I didn’t and needed to make a new piece.
Once you have your foam cut it is time to fit it into the door.
I would suggest doing a further dry run to check that it seems to fir correctly, and that the door closes well.
Remove the backing paper and moisten the adhesive before fitting it in place. Moistening the adhesive gives you a short period that allows you to reposition the foam before you seal it.
Give it a good press down and allow it to dry for a while. When it seems secure you can close the door and give it a good 24 hours to fully bond.
Et voilà… Good as new.
I have my first film in the Rioch 500G waiting to be developed. Watch this space to see it if worked…