Building a Guitar
I have wanted a 12 string electric for a while – a lot of what I do with guitars is drones and textures, so having messed about a bit with a 12 string acoustic for a while I though this might be a fun new toy.
I have also wanted to take a shot at building a guitar – A while ago I found an incredibly beat up Marlin Sidewinder in a charity shop – these were the cheap of the cheap in the 80s (and my first bass) – plywood bodies and very rough parts and together with a neck (from an old Encore) off ebay I built a reasonably functional (if a little punk) bass. So, I thought, why don’t I combine this and buy a kit to make a 12 string.
I opted for Gear for Music’s Knoxville 12 string kit – I thought the Telecaster Copy would be a nice addition. One thing I will say at this point – the kit is only £10 cheaper than the assembled item (Chinese slave-labour is cheap, kids) – so this is not a money saving exercise. It needs to be done for the experience. Once I had spend a fair amount (read on) on the finish, I had spend somewhat more. But I do have something ultimately unique.
So the kit arrived. You can see it in the first image on the gallery. You get an unfinished body and neck, with a maple fret-board. The parts are all pretty decent quality. There were no spiky rough frets or burrs on the metalwork. My body did have a small dint in the back, but nothing serious. I sanded the body, but did not bother filling.
One other thing to be aware of – the body is not bookmatched, as you can see. So this would need a finish more than just lacquer or oil to look good. But then isn’t that the point of building your own..? You do need to remove the scratchplate as this is pre-installed.
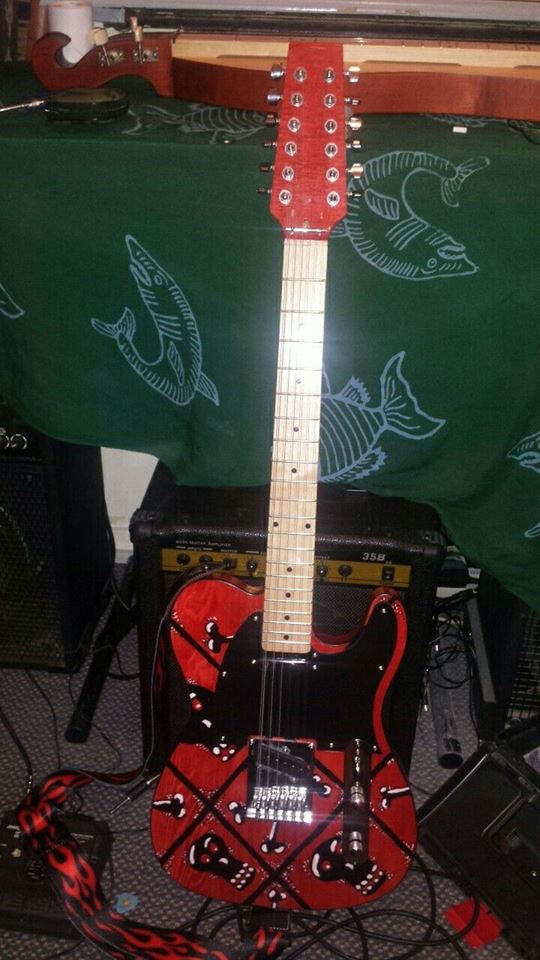
I decided that I was going to stain the wood, and then paint a design. It was actually my 6 year-old son who came up with the idea of skulls and cross bones like a naughts and crosses board – in retrospect I would have done the lines a little rougher, but I am pleased with the design the design.
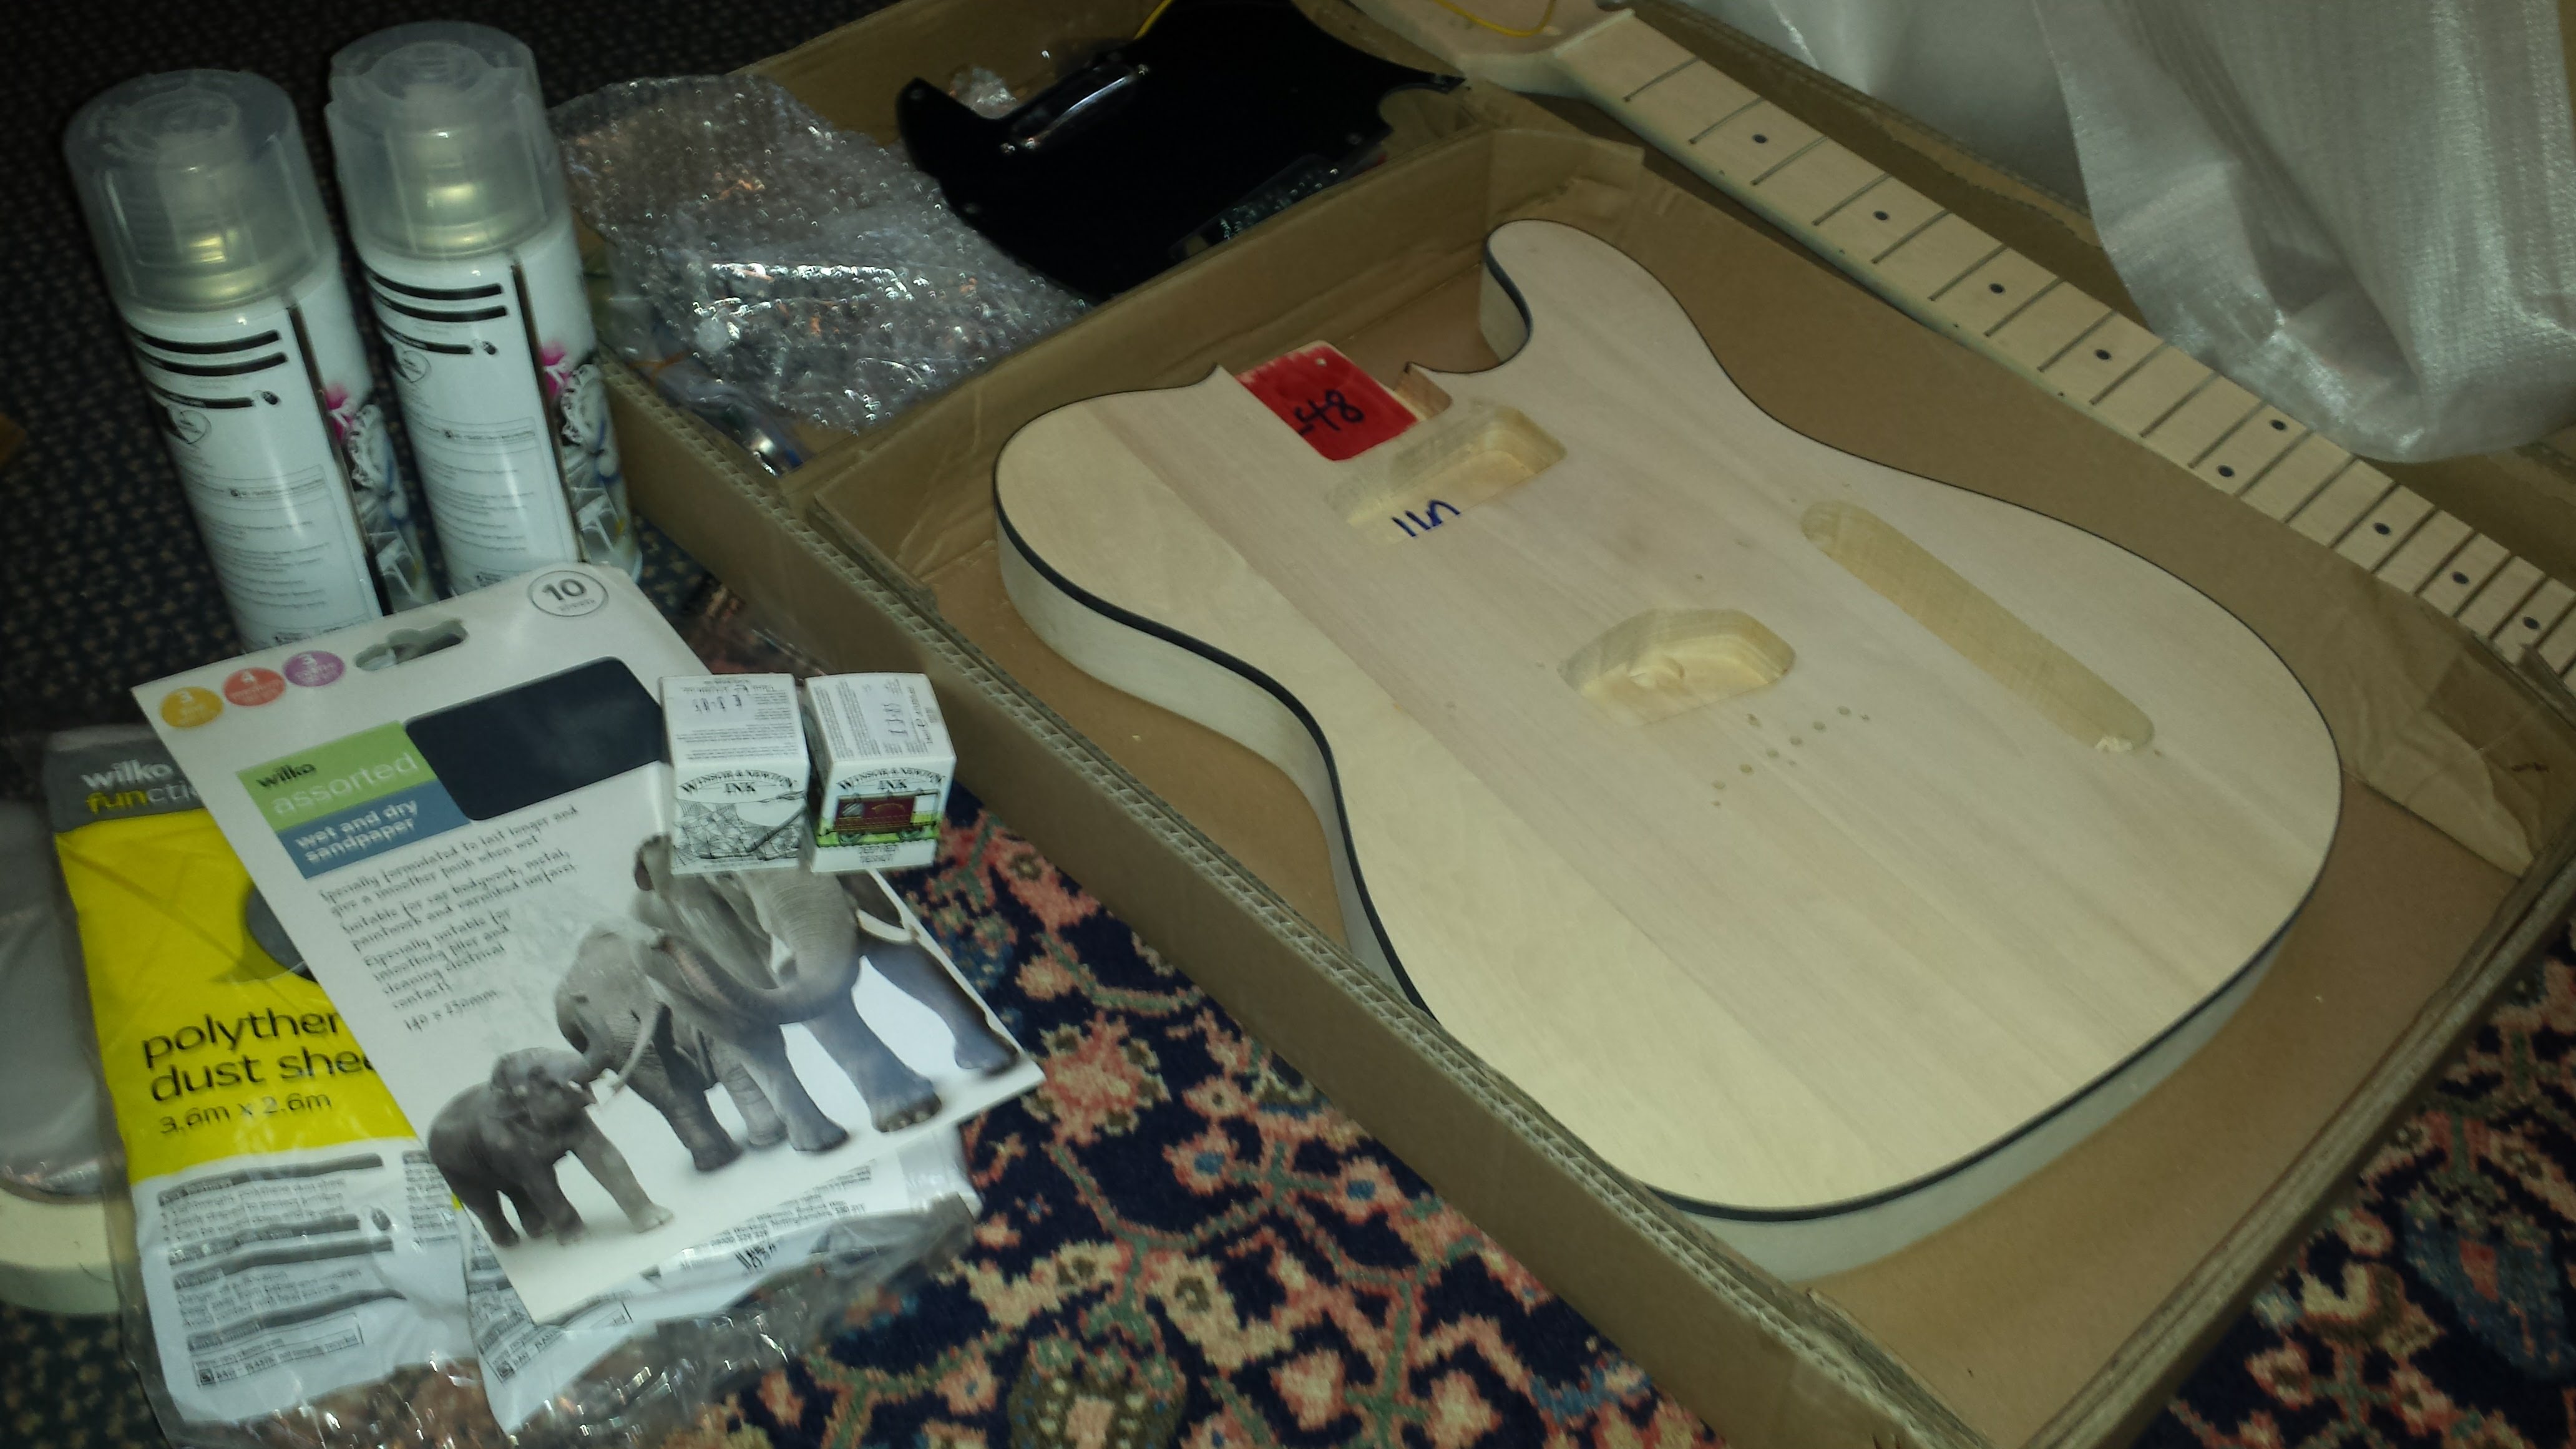

I did the initial staining using Windsor and Newton drawing ink as I wanted a little more translucency than I feel coloured woodstain can offer. This took two bottles, costing about £7.50 in total. I finished the black with Indian ink and the highlights with white acrylic.
Then it was time to lacquer. I am a great proponent of the idea that some inexpensive products are basically the same as brand names so I decided to take a risk and try Wilko’s own brand acrylic lacquer. I used about 3 and a half cans of this – I cannot obviously compare this to real guitar lacquer or a name brand like Rustoleum, but most advice I have read on lacquering suggests that you would need a base coat, a colour coat and a clear coat, so I think three cans of laquer was not too bad.
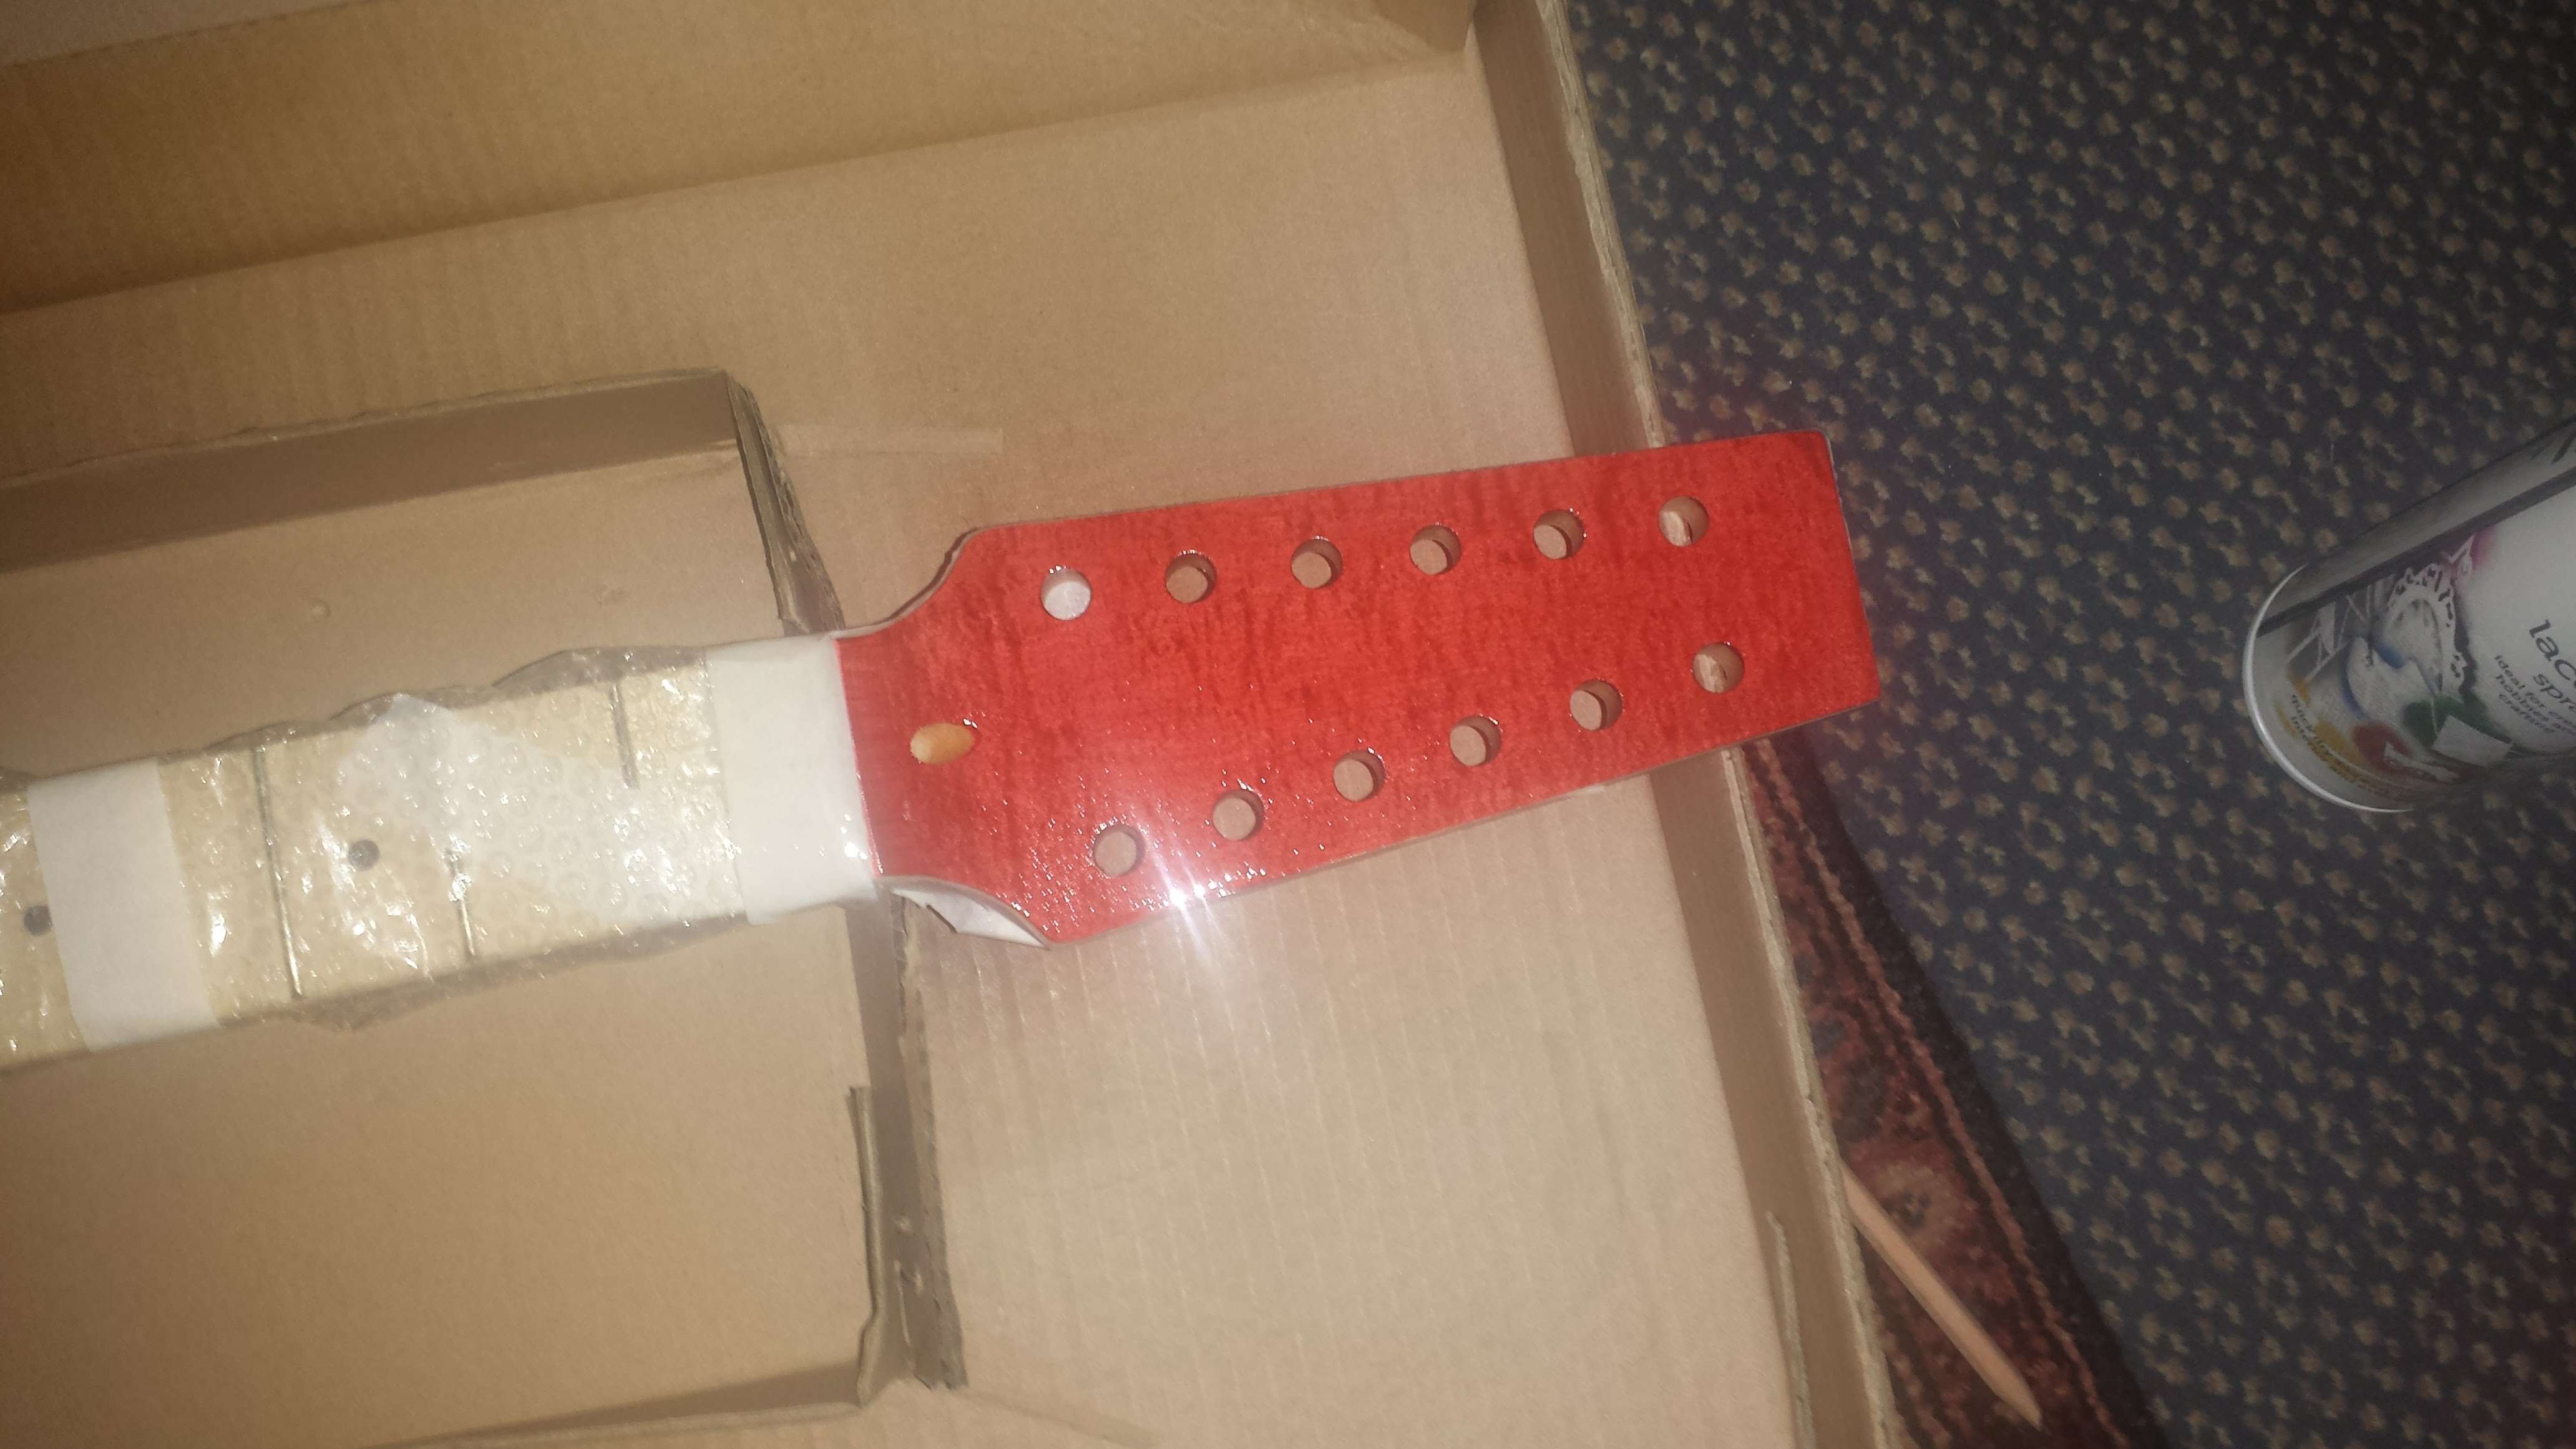
The lacquering process was the most stressful part of the build. I do not have a garage or must outside space, so against wisdon I did this inside (note, that with Acrylic this is borderline safe, do NOT try this with nitrocellulose). I spent a lot of time with my house covered in plastic sheet and all the windows open. The other issue is that I did not have space to hang the body so I was faced with doing one side at a time. One thing to note is lacquer, whilst it is touch dry quite quick, takes a while to cure – I messed up the back a little turning it over too soon. In the end I hit on using sanding blocks wedged in the control cavities to stand the on. This took the best part of 3 weeks to complete. I then sanded down with 400-1000-1200-1500-2000 grit wet sanding paper in sequence. I am most happy with the headstock, which was easier due to its small area. There are a few imperfections, but nothing worse than the finish on an original vintage Tele to be fair.
Next came the assembly. The actual building was relatively simple. I checked as best I could the position of the holes drilled for the bridge as some reviews suggested they were out – but they were fine. I will also say that intonation on a 12 string Tele copy is not going to be spot on at the best of times, though the supplied bridge does have individual saddles that can be adjusted for both strings on a course (so probably better than the original). One hole for a tuning peg was slightly out. The main issue (which I have left for the moment) is that the neck pickup seems to be pushed slightly forward when the scratch-plate and pickup is installed. I’ll take a look at this some point. It did have some trouble with the string tree as I could not get this quite right – it is, I assume, designed to sit across the middle 8 strings, but it would not do this easily and caught the inside strings on the other courses. I moved it further up towards the nut to cover all strings – it does feel like is snags a bit. I will monitor this and may look at a different solution.
The wiring was relatively simple, though the colours were not as indicated on the PDF instructions. If you don’t have a basic knowledge of wiring this may be an issue. Soldering makes me cross (so I am told) but to be fair this was not too stressful, most of the tricky bits are pre-installed in the control plate. I did wire the pickup selector in backwards in error, and decided I couldn’t be bothered changing this. I know which is which.
All in all, I am quite pleased. I would be interested to compare my build to a factory build and see how I did. If you get one of these be aware the fretboard is very wide and flat – I have to consciously prepare for this before playing chords.
I’ll get some nice picture up soon.