Reflections on Making Watercolours
It’s been a few months since I started off on the journey of beginning to make my own watercolours and I thought it was time of a bit of a review of where things are up to, as I have learned quite a lot and developed my process over the way.
Gathering
This has caused some amusement to the people around me, my tendency to whip a plastic bag, handkerchief, random bit of paper out of my pocket and fill it full of mud and rocks. I lack the time I would like to go and seek exciting materials as much as I would like, though with the approach of summer, I may feel more motivated to make time.
I had a few interesting items that I had collected before thinking about making colours with them, bricks from the beach, rusty iron from the Humber, Welsh slate, but other than some construction clay, muddy rocks and old bricks my initial forays round my local area of Meanwood were slightly disparaging, this coupled with not getting as good results as I had hopes (more on this later).
Perseverance is the key here, not everything will work, and sometimes it is worth just abandoning an idea if it is not going to make good results. However, different colours and shades of slate are quite ubiquitous (especially if a few bits have strayed from a driveway) and some really interesting colours I have found come from mixtures of metal rust and stone – a great one being where some railings on the University campus had rusted into the sandstone wall, or an old pipe unearthed in building work was filled with rusty clay.
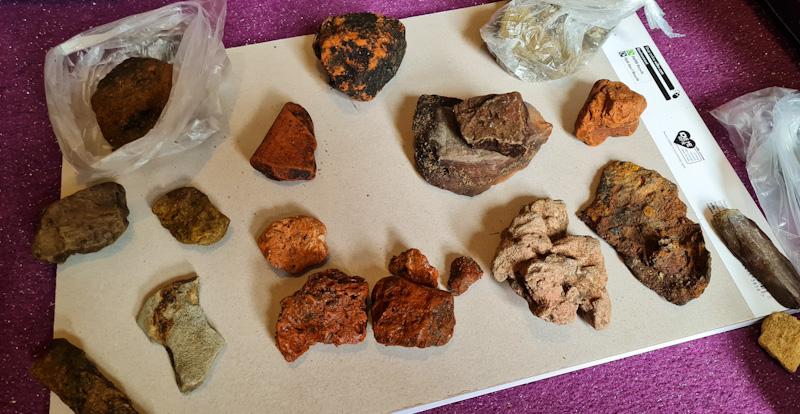
In a recent visit to Breckland I discovered some more interesting finds – chalk is not something common in Leeds, and the clays from the ploughed fields produced a great orange ochre. I also found differing colours of brick and tiles, some perhaps medieval in origin – of course red bricks and terracottas will have local variations.
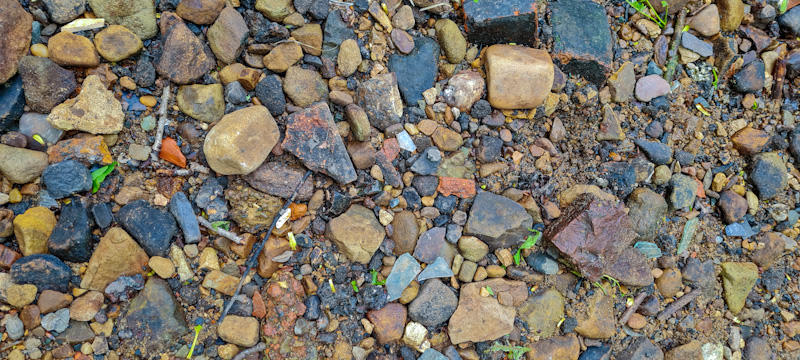
I searched quite a lot in Meanwood beck, with less than encouraging results, until recently after heavy rains when a small “beach” nearby was transformed into a massive dredge of stones, bricks and various other exciting finds. Here I found an orange sandstone so soft I could crumble it in my hand, Kiln Slag from old industrial activities, various charred bricks and more, some of which I still need to research to try and identify.
Obviously not everything will be suitable (at least without a rock crusher), but as I have learned to process in different ways the number of useful finds has increased. I will talk more about this later.
Processing
Perhaps due to impatience, my earlier attempts have mostly just been ground and sieved. I’ve begun to process a little more intensely. Here is my current process.
Sorting
The first stage of this is obviously sorting your finds. While in some cases (a nice day, with somewhere to sit) it is enjoyable to do this in the field, it’s often worth a little more sorting out when you get home. You may have a few odd stones that might not be enough to make a suitable quantity of pigment on their own and could be combined, or things that seemed similar but are actually a different substance (soft chalk, and harder limestone for example). An important part of this is labelling – what they are and where you found them. You will forget, if not.
It may also be worth a looking at whether anything needs cleaning. Soils and muds may have larger stones or organic matter which can be picked out now. Stones may have soil that you do not want that can be washed or scrubbed off.
After this is is time to pick a pigment and start the process of making your pigment and ultimately paint.
Crushing, Grinding and Sieving
What you need to do here is obviously very dependent on the material. Obviously some wetter slurries may not need grinding if you are levigating them. Some softer materials can be broken up in the mortar and pestle, some may need attacking with a hammer.
Harder stones, dry brick, modern bricks, slate will certainly tend to need breaking up reasonably small with a hammer before grinding in the mortar and pestle. This is obviously hard to do without chips flying all over the place and wasting pigment, but anything that could be used the contain them is likely to be macerated in the process. I have found several layers of paper or cardboard, inside a heavy “bag for life” type shopping bag to work reasonably well. Obviously the hardness of the rock may dictate the size of the hammer required! With very hard rocks, you may not even be able to grind them in a mortar and pestle fully, but you may be able to collect enough small enough pieces and dust to get something from a levitage process.
Then it is the mortar and pestle. For sandstone, older bricks, soft shales and, of course, soil and mud you can go direct to this stage. I do find that many soil and mud materials benefit from grinding – after all I am aiming for a very fine pigment in most cases. While wetting the grinding process can reduce dust, I often find I get a smoother result dry and I can get the feel of a pigment’s structure better. Be aware some old bricks and sandstones may be damp, and sometimes it’s worth grinding, leaving to dry and then grinding again.
I will normally grind in small batches of about a tablespoon, and I will sieve these through initially a reasonably course kitchen sieve into another container, discarding any hard grit each time. Then, particularly and always if I do not intend to wash, I will repeat this process through a finer tea strainer. If I am not washing I will spend more time grinding this second sieved fraction until it is smooth as I can get it. I will say a little more about which pigments I process in different ways in a later section.
After this I will either leave the ground pigment to fully dry, or if I am washing it, I will transfer this into a Kilner Jar for the levigation process.
Washing
How much to wask (levigate) the pigment can depend very much on the results you are looking for. If you are making paint to use in a tube, and work heavier (more like an gouache, or indeed making gouache/oils) then some fairly large particles can give a nice effect. For making pans, I find the smoother the better in most cases.
Basically, I start by putting the raw pigment material, ground up as far as I want to, into a kilner jar and half filling this with water. If there are bits of leaft, bark and other organic matter I sometimes let this settle and skim these off the top.
Then I give the jar a good shake, for at least 10 seconds, to really mix up the slurry. After this I wait about 5 seconds (about the time it takes to open the jar and get everything into the right place) and pour the liquid off into a second jar. The aim here is to get all the fine particles suspended in the water into the new jar, leaving the larger grit behind.
Here there’s a decsion to make on whether to do it again. It’s likely there will be some more fine pigment, albeit slightly heavier particles left and a second pour can get a bit more. If I have lots of the source material and want a really fine pigment I will just leave this as the one pour. If I have less (for example a one off find) and/or don’t mind a slightly rougher paint (often with rusty ochres) I may do a second and sometimes even a third pour, into the same or a different jar.
What’s left can be kept or discarded. If it is a rare source and something that I think a second grinding my powder more (i.e a fairly uniform rock) I may keep it. If it is something abundant I will pour it back out – try to do this outside, not down the sink as it can silt up the trap!
After this I leave the jar to settle, until the water is as clear as it can be and the fine suspended pigment has collected in the bottom of the jar. This can take up to a couple of days depending on the pigment.
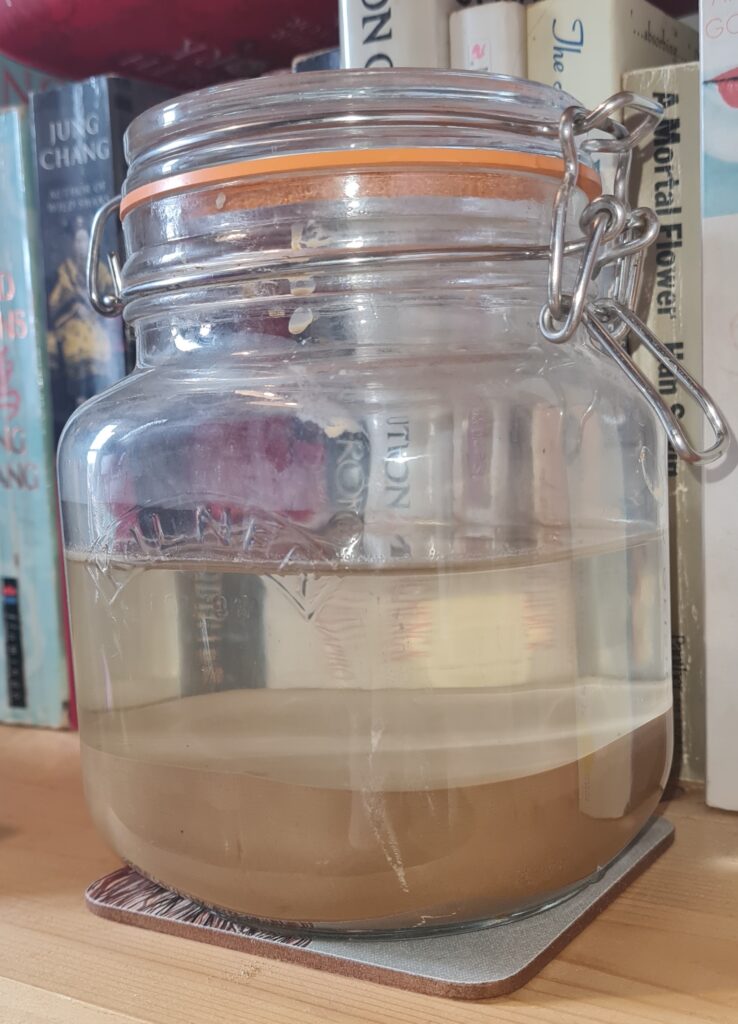
When this is clear, I pour off the water, aiming to leave the pigment trapped in the shoulder of the jar. This can take a couple of goes. Normally I can get the jar to within about 5mm of the top of the sediment without losing very much.
After this I shake it all up again and pour out into a flat dish – I have saved a number of ceramic pâté dishes from Aldi which work great for this. As this settles again I pour off as much as I can a few times, until I have just the sediment left.
Then I leave this to dry. This can take any time from a day to a week depending on the pigment and the weather. As it starts to dry, criss-crossing it with a palette knife can help. The end result is a dry powder, or (more often) chunks like a set clay. This gets a final grind and into a jar.
Making Watercolour
At last, this is the stage that all this work is aiming towards, actually making some paint.
I have used medium from Sennelier and my own home made medium. The process is much the same.
I use a small ceramic mortar and pestle for this stage, which works well enough for me without mulling. I tend to measure by eye, but about a heaped teaspoon of pigment and about 3ml of medium seems to be a good start point, which will make a couple of half pans. I put this in the mortar and give it a preliminary mix with a palatte knife.

Then I use the pestle to bray the mixture round and round in the mortar. Sometimes I need more medium or more Pigment. This will work the mixture up the sides of the mortar, which I scrape down with a rounded palatte knife. I aim for a consistency somewhere between double cream and toothpaste and making a sticking (rather than grinding) sound when I am braying it.
From here I fill my pans or tubes. What is left in the mortar, I dilute and wash onto some paper as a background for charcoal, pastels or printing.
Different types of pigment; their processing and properties.
Soil and Mud
Some examples I have made have included silt from the bottom of streams, soil from fields, mud and clays from building sites (but see below for notes on some iron/rust rich examples). If these are wet – i.e silt from a stream I will often omit the grinding process. This has taken place to some extent in the stream itself, and drying out large samples only to wet them about seems unnecessary, also they are often full of organic matter. I go straight to the wash with these, often with a first stage of settling to sift of small twigs and leaves.
When drying, these will often set like clay and need to be ground again, when very dry.
These will often need quite a lot of medium and sometimes a bit of water added when making the paint. They can end up quite dry, and harder to re-wet, especially if not levigated to make a fine pigment as water is absorbed by the larger particles.
Brick and Tile
There is an amazing amount of variation of brick and tile colours, and also these are of different hardness – yellow bricks especially I normally need to treat like hard stone. Red Bricks which are damp will often crush in the mortar and pestle, but then may need to dry a bit before final grinding.
These often produce enough fine dust that a useful, if gritty paint can be made with just grinding, especially is used from a tune. Levigating these creates very good clear reds of different tones. They absorb quite a lot of medium, especially with larger particles, but tend to keep a consistency which is relatively easy to re-wet.
Soft Sandstones, Mudstone, Clay and Chalk
There’s quite a variety of hardness in these, some will need breaking with a pestle, or (particularly chalk) may need a hammer, some I have crushed in my hand. They tend to need grinding, and in general for all but the softest clays levigation is useful. If not they may behave a bit more like soils and make dry pans.
Hard Stones
The harder the stone, the harder the work. Hard rocks will need to be broken with a hammer as small as is possible before grinding. In many cases all that can be done is grind them against each other and collect the dust, rather than fully grinding, so lots of sieving will be useful. Granite has a hardness of 6-7 on the Moh scale, so anything harder than this (quartz based stones particularly) will result in scratching and chipping the mortar and pestle. Given the issues, they tend to need levigation and will produce smaller quaintities, but a second grinding of the sediment can produce results. Consistency of paint depends on the stone, some (hard brick for example) will absorb more water than others. Colours may be very different to what they first seem.
Metals – Rust and Kiln Slag
Some good clear browns can be obtained by washing rusty samples, and depending on the source (for example rusty wet silt from pipes) this may be needed and useful. But some interesting character pigments can be obtained using different methods. I have found that often just grinding rusty metal can give a fine enough particle size to give a slightly granulating brown undertone, with interesting clumps or flecks of black. Levigation can remove more of these. If not levigating, use a finer sieve.
Often the paints produced by these remain very sticky and have a slightly oily feel as the pigment is very much a suspension rather than drawing in water.
Rust and Rusty Mud and Stones.
I will discuss these seperately as they can have some very interesting properties. Some very nice colours can be obtained from yellow ochres or sandstone that has been stained by rust. These benefit from grinding and often can get quite a fine pigment. Washing can sometimes spoil the effect, but where there is a lot of unwanted material such as twigs and leaves this can be of benefit.
It’s sometimes hard to tell how these will behave, but the great thing about these is the colours – where rust penetrates the stone this creates some great yellow tones, and the varied granulation.
Slate
For all that slate seems soft, it is actaully quite hard to grind down smoothly and can create very bitty paaints without levigatng. However these can, like brick, work very nicely in tubes, only less so in pans as the colour tends to be weak. Levigated, one can get a very fine pigment (PBk19) and indeed this is used in Davy’s grey. The colours in slate are caused by different minerals within the structure – for example chlorites in green slates and haematite in purple slate. Red and green slate seem, to me, to be harder than grey or purple.
I have found that in pants larger particles leave the paint quite sticky, levigated slate pans can dry out. They create nice granulation effects.
Plant Matter
Much of what I use for pigments are earth colours (though I plan to experiment with laked pigments soon), though I have used a couple of plant based ideas, such as ground tumeric (one to try laking), charcoal (Vine Black), and peat (historically Vandyke Brown).
Like soil these can dry out as they absorb water from the medium and sometimes a touch of extra water can help. They often create a pigment that is quite bitty, but does not granulate much (though charcoal does flocculate a little).
Naming your creations
This is somewhere you can naturally have some fun, and derive immense satisfaction in christening your paint.
Sometimes you may want to follow tradition – for example pigment dervived from charcoal is historically called “Vine Black” and you may want to keep that trend. Vandyke brown was originally made from peat, and you could use this name easily and accurately.
Ochres refer to any iron oxide based earth pigment, but often in modern products Yellow Ochre predominates and we asociate the name with a yellow colour, the reds and browns having been taken over by Umbers, Siennas and Venitian or English Red. Many of these, even those from natural sources may take on the name Sienna or Umber while not being from that traditional location. I use these where the colour suggests, such as “Bentley Lane Sienna”, “Meanwood Beck Ochre”, “Cardboard Hill Umber”.
In homage the source, you may want to give a descriptive name from the material or place. Magnetic Iron Oxides whether natural or synthetic can be called “Mars Black”, but “Kiln Slag” is of course far more evocative. I have made, for example, “Rusty Railings”, “Wymondham Rust”, “Breckland Mud” and “Humber Shipwreck”.
Or you can go by a colour description can add interest, for example, “Cardboard Hill Umber”, “Penmacho Purple”, “Whitby Red”, “Leeds Grey” – you’ll notice there can be crossovers with places and types or colour – often it is what rolls off the tongue in a pleasing manner, but leaving a little to the imagination is also nice.
Another conundrum is pigment codes. I do often add these – for example Mars Black (PBk11) can be natural, though it is often synthetic and Slate (PBk19) has it’s CI Code. They will often fall into Natural or Synthetic (where bricks are concerned) Iron Oxides – PR101 or 102, PY 42 or 43, PBr7, PW18 and so on. They may not be 100% correct, but they do for me.
Afterword
Though I have written with some knowledge and authority on this, I am still only less than a year into this journey, which obviously is a small branch of millennia of artistic development. It’s become a bit of an obsession; while I can buy paints and pigments, the excitement of making something wholly unique which connects me with the place I gathered it is great.
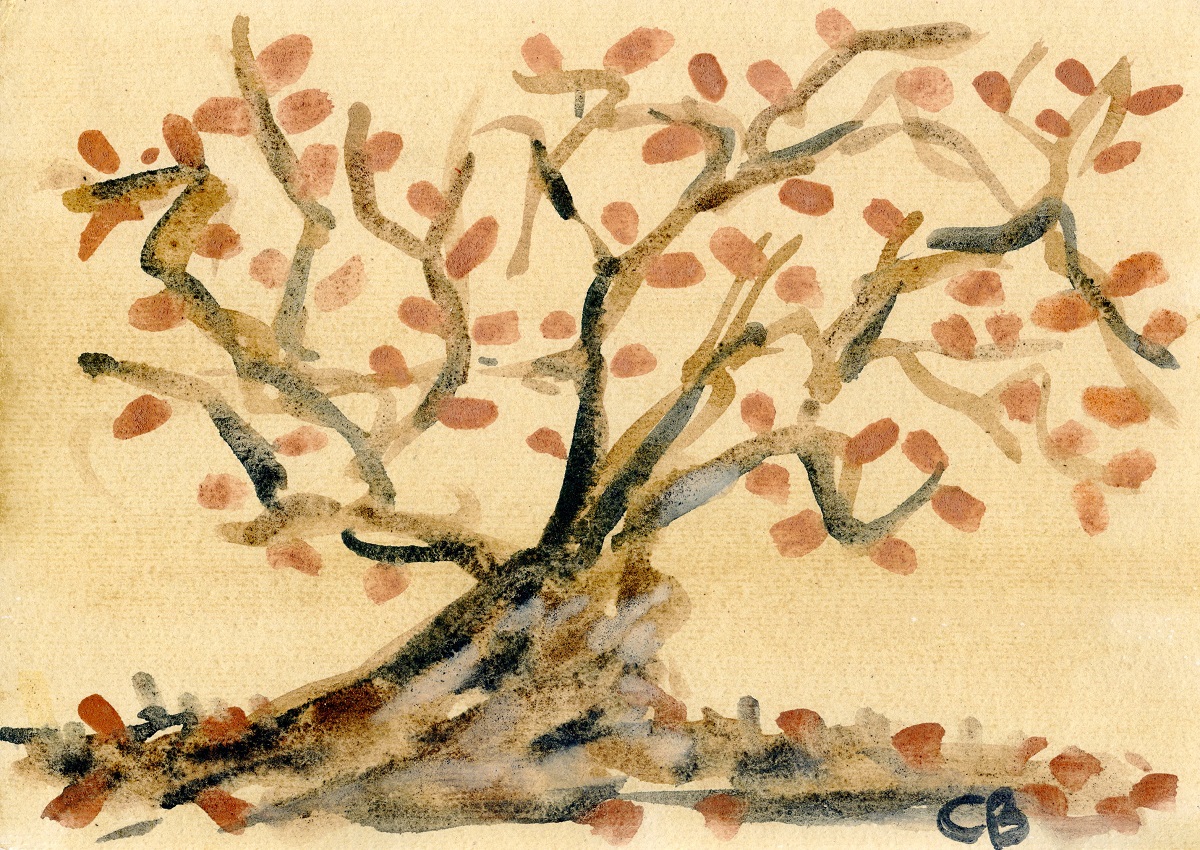
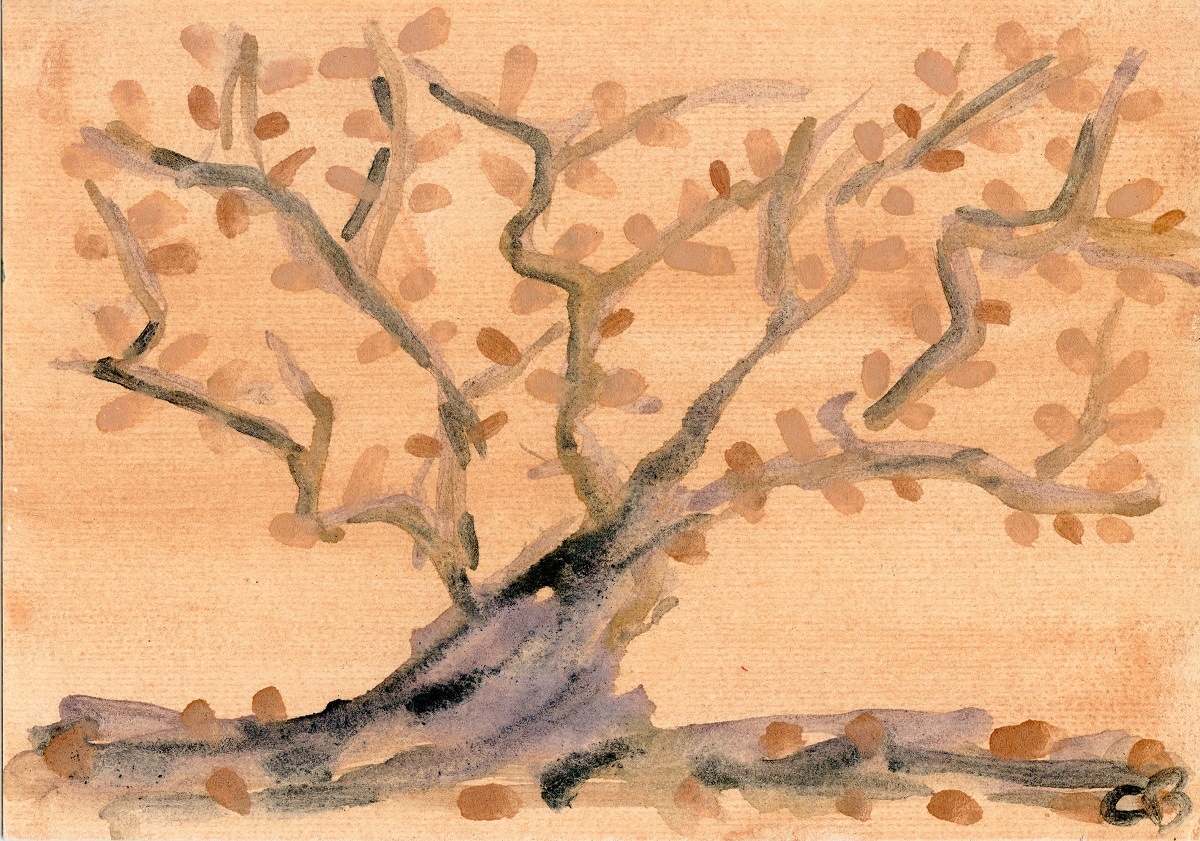
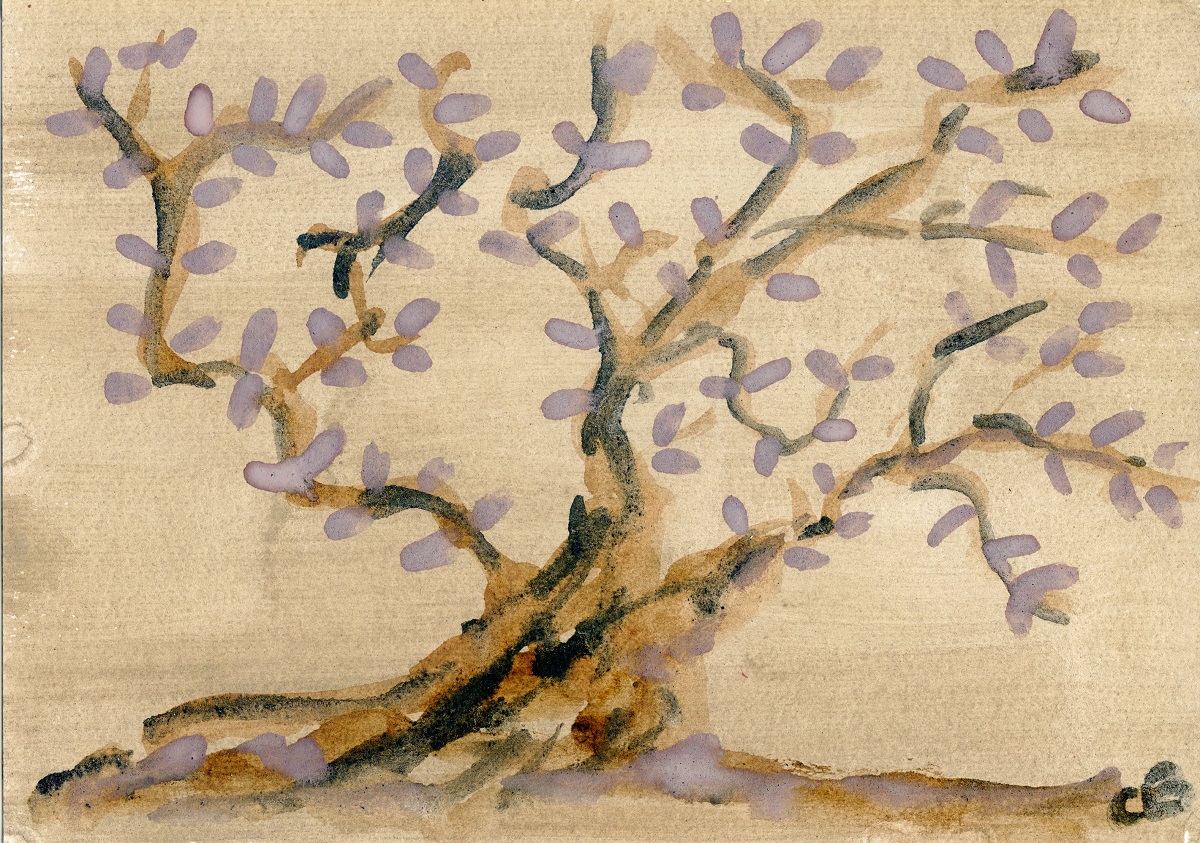
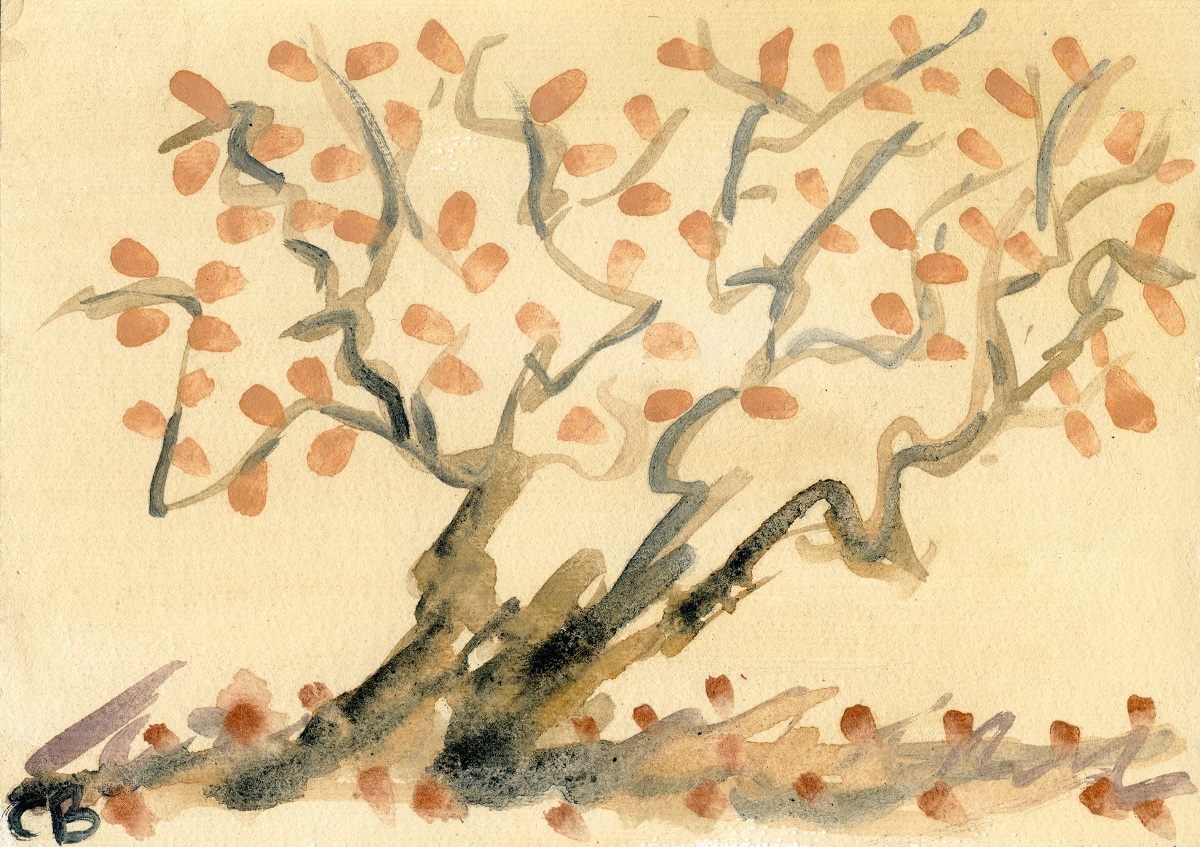
I’ll leave with this small set of images, painted with my natural colours on the grounds I make when finished fillng my pans.
1 thought on “Reflections on Making Watercolours”